Hiii! Happy New Year!
Today we’re following an upcycle put together by my sister, JoJo. We’re going to create some incredibly fun and easy DIY wall art. Now, I’ll let her get right into it!

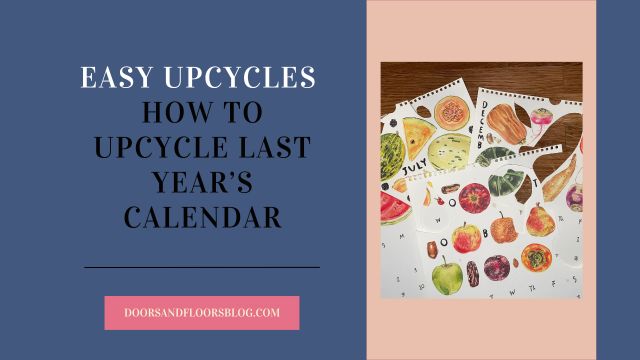
Have you ever had a calendar that is just really pretty? So pretty that you don’t want to throw it out, but also it’s a new year and it’s got to go. That was my predicament this year, and so I did a little real-life cut and paste and made it into something new!
I feel like I can always use more wall art, so that’s what I decided would work best for my home. I think you could also get some blank note cards and make the same concept if you’re out of wall space.
Approximate time put into this project: 1-2 hours (depending on how fussy you are about cutting and your arrangement)
What You’ll Need:
- An old calendar
- Scissors
- Glue Stick
- Pencil
- Ruler
- Clean counter space
- Patience
- Imagination
Getting Started

To start, I took my old Eat Local calendar by Maria Schoettler apart. I knew I needed something to put my new design on and I did a quick search on Amazon to see if the calendar I had was a standard size. Luckily it was! I found a frame I liked that came with a mat to make it slightly smaller (which was needed as one edge of the calendar had an uneven edge.)
With this in mind, I looked through the images on all 12 months and set aside two pages that had my least favorite designs on them. I would use the back of one to make my new art.
Next, I started cutting out the designs I liked best. Since the calendar I’m using was all fruits and vegetables I focused on the fruits and vegetables that I cook with the most (because I had to narrow it down somehow – all the graphics are so beautiful!).
I also knew I wanted it to say “Café Sparks” on it, which is what we call our house when we have dinner parties. I made a point to cut out the letters I needed from the names of the months. No month has a K in it, so I had to get creative there. More on that later.

I cut out my designs and set them aside.
Tip: Don’t get too fussy with your cutting on the first pass. You probably will not use everything you cut out and you’ll probably end up trimming the ones you do use down even more.
Take a Step Back and See What You’ve Got

After the first pass, I took inventory of what I cut out. Did I have a variety of shapes, sizes, and colors?
I had cut out a lot of large and medium items and knew I’d need more small ones to fill in the space. So I looked through the months one more time and grabbed a few more pieces.
I also grabbed some graphics that I liked but maybe weren’t my first choice. I’m mentioning this because I ended up using a couple of them as I needed some other colors to fill in and break up all the green. When you’re working with fruits and veggies there’s a lot of green in there!
In my pass back through I realized I also needed another S, so out of the two spare pages I had saved it was decided that “August” must be used.
Assembling Your DIY Wall Art

Now onto the assembly!
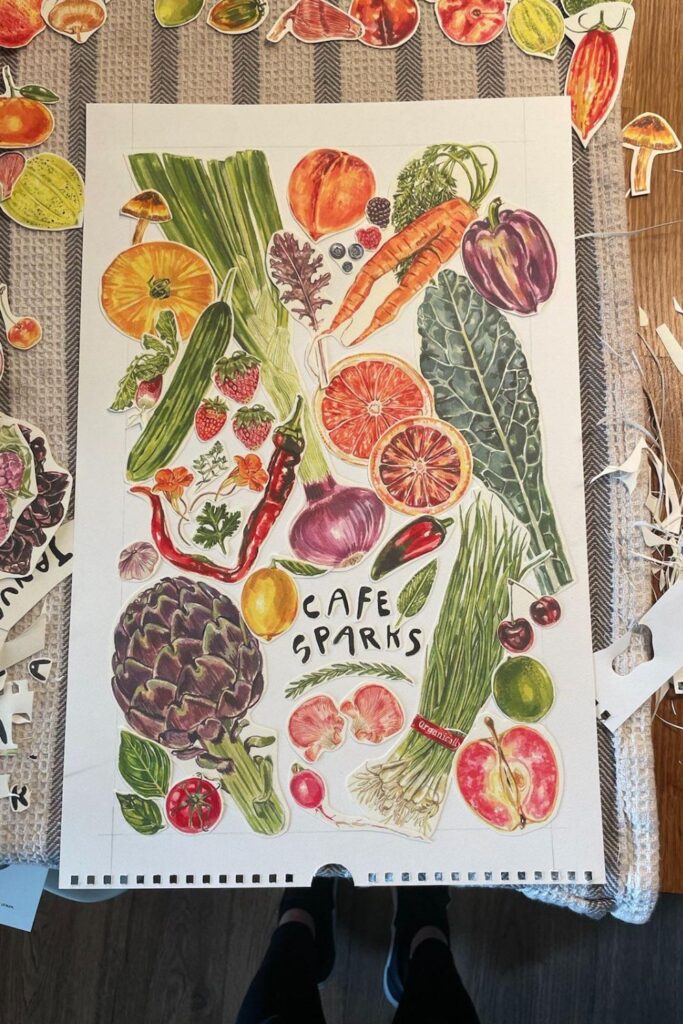
I set up my workspace and grabbed my ruler, pencil, and glue stick. The frame I ordered comes with a mat, so I used my ruler and pencil to draw a faint line 1″ in around all sides. I kept this in mind as I created my arrangement as some items will be partially covered by the mat when it goes in the frame.
Next, I sorted my cutouts by size – small, medium, large, and letters. I took the biggest items first and just played around. Knowing I wanted to use the spring onion, kale and green onions for sure. I really liked the beet, but unfortunately, he just wasn’t quite the right shape. I also knew I wanted the green onions towards the bottom so you could read the word “organically”.
Finally getting an arrangement that I felt worked best, but before I glued anything down I thought about where I wanted to place “Café Sparks”. It could either go at the top or the bottom with the pieces I had picked. I placed it and made sure it didn’t cause any significant shifts to the arrangement that I had selected. I liked the bottom placement best and then committed to gluing the large pieces and my letters in place.
A Quick Note About the Letters

Back to the letters!
As we all know, no month has a K and I needed a K to make my design work. What could I do? Luckily there are a lot of R’s in all the months so I thought I could cut open an R and maybe layer a smaller graphic that had more of a pointy shape over it to make it seem more K like.
There was a piece of mint in my smaller items that did just the trick, so I glued that down too. From there, I went to the medium pieces and just played around, placing items in different areas, and trying different color combos as I went till something just felt right.
When it felt right, I committed and glued it down. In the end, I realized I needed a few smaller items to fill in the spot at the top. I went back to my pile of discards and looked for something I had missed that was the right scale. Luckily there were some blueberries and a raspberry that were the right size for that spot.
During my design process, I also made sure to have some items go off the edge so that when the mat covers it there is color all around.
Depending on what I was layering I also kept trimming the edges of my cutouts until I had the ideal look. This is of course personal preference and you should do what you think is best! I focused my glue on more of the center of my items vs the edges, which was a good choice in this scenario as it allowed me to do some more layering and tucking with certain pieces. This was mostly out of laziness and was a happy accident.
Finished Results
And that’s it! I just popped it in the frame and it’s all set to go on the wall. I now have a new piece of art out of something that I was planning on throwing away and all it cost me was time, the price of the calendar (which doesn’t really count because I bought it to be a calendar and used it for a whole year) and a frame.
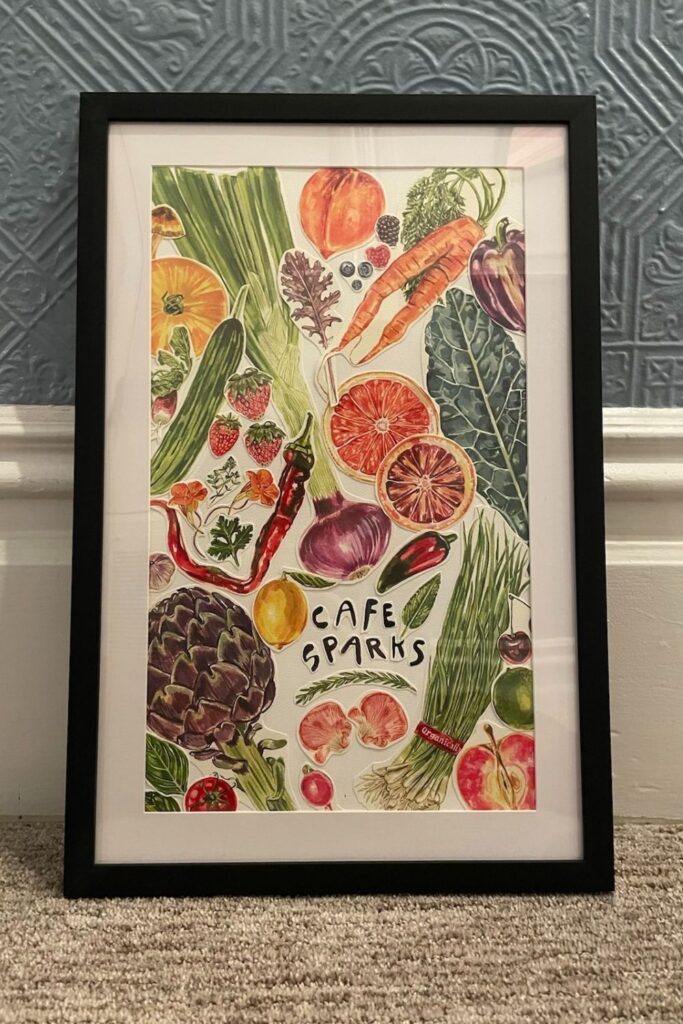
What do you think of this DIY wall art? Pretty easy and fun, right?
If you decide to give this project a go, tag me on Instagram @doorsandfloorsblog and use the hashtag #DoorsAndFloorsBlog so we can see what you make! We’re so excited to see what you do with your old calendar and how you make your DIY wall art!
If you liked this post, check out these ones:
- How To Make A Creative Board For The New Year
- How To Make A Language Goal List For The New Year
- How To Make A Health Board For The New Year
P.S. Looking for a fun activity you can do with a friend while working on tedious crafty tasks, download our free trivia here.
Playing trivia is a great way to keep your mind active and have fun with your crafty friends and family while busting out those seam ripping, crocheting, and other time-consuming, but necessary, crafty tasks.
Be sure to check out the free Trivia by clicking here!
