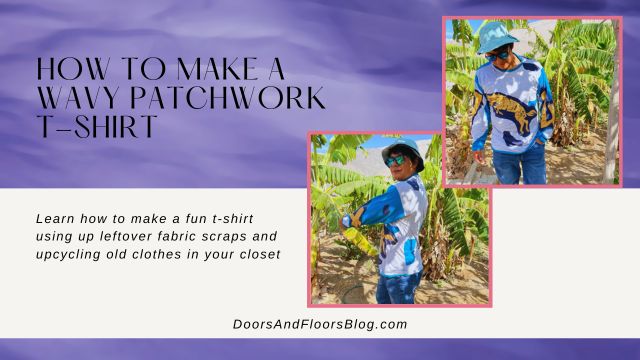
Ready to get creating? Today we’re making a wavy patchwork t-shirt from scrap fabrics and an old pair of sweatpants. Are you in?
This project is the perfect upcycle for all your old t-shirts that have some tiny holes in them from cat claws or food or oil stains. You know the ones. The clothes that you have and wear just around the house because of these tiny defects. If you’ve got a t-shirt or two or an old pair of sweatpants that need a little pick-me-up, you’re going to love this upcycle project. So let’s get into it!
This post may include affiliate links.
Please read my disclaimer page for more info.
*As an Amazon Associate, I earn from qualifying purchases.*


Approximate time put into this project: 3-4 days with 3-4 hours put in each day
What You’ll Need:
- This project is perfect for using up some leftover materials or old worn-out pieces in your closet. Consider using an old pair of sweats, or some worn out/holey shirts that have some cool graphics, or some stretch cotton material, I used a mixture of all three of these
- Matching thread
- A shirt you like the fit of to reference
- Sewing machine
- Sewing pins
- Scissors
- Iron and ironing board
- Fabric chalk
- Fabric tape measure
Disclaimer: I am trying to teach myself the Metric System. I will try to always include both measurements in my tutorials, i.e. centimeters and inches, meters, and yards. I have been using them interchangeably in my everyday sewing life lately, sorry if I switch between the two too often or forget to include them both. Thanks for understanding!
Cutting your Pattern Pieces
Start by grabbing your reference shirt and the scrap fabrics or materials you’re upcycling. One of the t-shirts I’m using has a bunch of tiny holes in it and the sweatpants have some stains, I’ll be specifically trying to work around these spots or will cover anything I couldn’t avoid with the wavy shapes.
Find the biggest portion of your fabric and lay your reference top, folded in half on top of it. If you need to, cut your materials apart first, opening up any leg seams and cutting off cuffs. I didn’t want to cut anything until I found where the biggest sections were first.
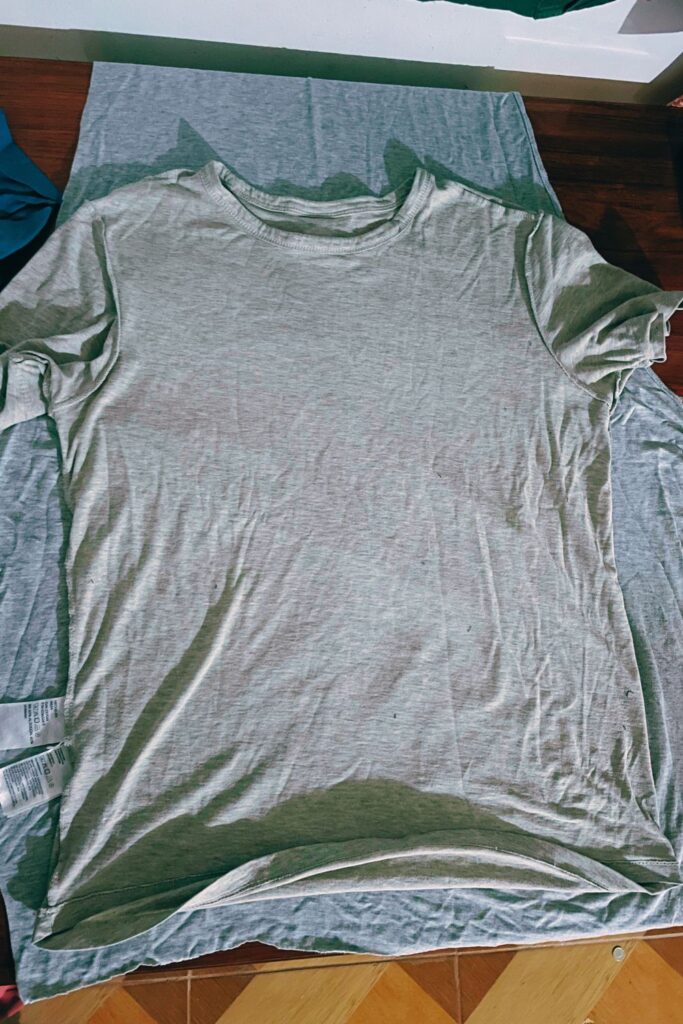
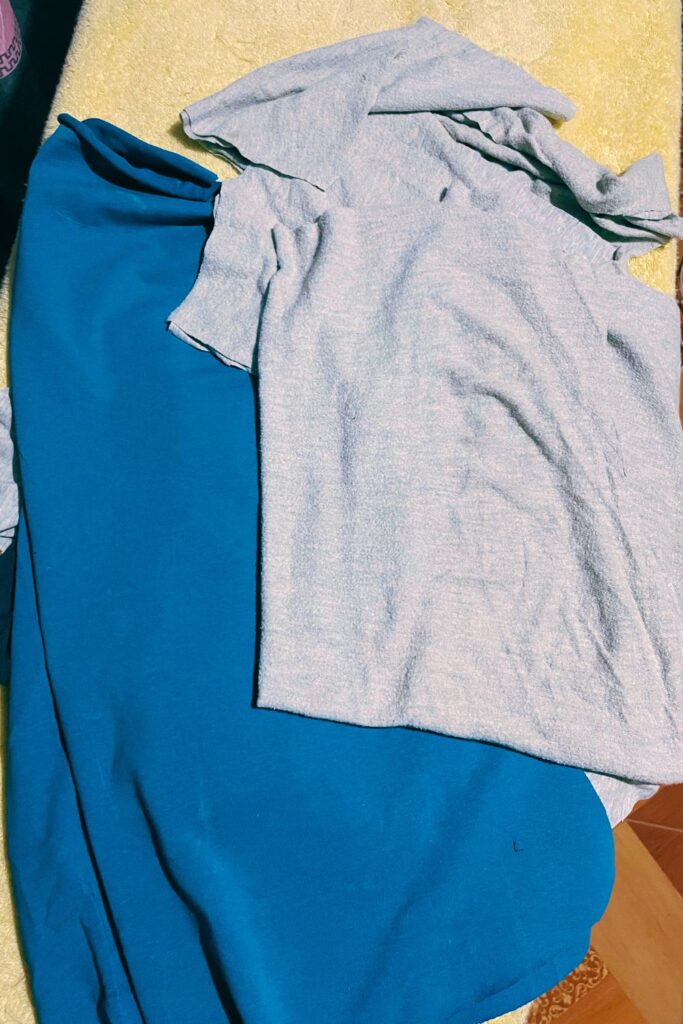
Once you know where to pull each pattern piece from start to cut out your pattern pieces, including an extra 1″ (3cm) of seam allowance around all edges if you have the width. Try to play with all of your materials making your pattern pieces out of a mixture of everything. Make sure when you start cutting you begin with the biggest pattern pieces first like the body and sleeves.
Remember to flip your reference shirt in the other direction when you go to cut the front versus the back. If at all possible, try to cut the front and back of the shirt on fold. I wasn’t able to do that for my back piece, which ended up being made up of four pieces.
Once you have the front and back cut, use the sleeve on your reference shirt to cut the sleeve curve. Try to cut these on fold along the top edge. I recommend cutting long sleeves if you have the material. This will give you more canvas to play with when adding the wavey shapes later.
After you’ve got the main body pieces cut out, cut several long, 2″ (5cm) wide strips of fabric to use later for the neckline, cuffs on the sleeves, and bottom hem. If you can wait until the main pieces are sewn together, I usually find this to be best so that I don’t accidentally cut something too short, but since we’re working with scrap materials I understand if you need to cut these now to make sure you don’t run out of material.
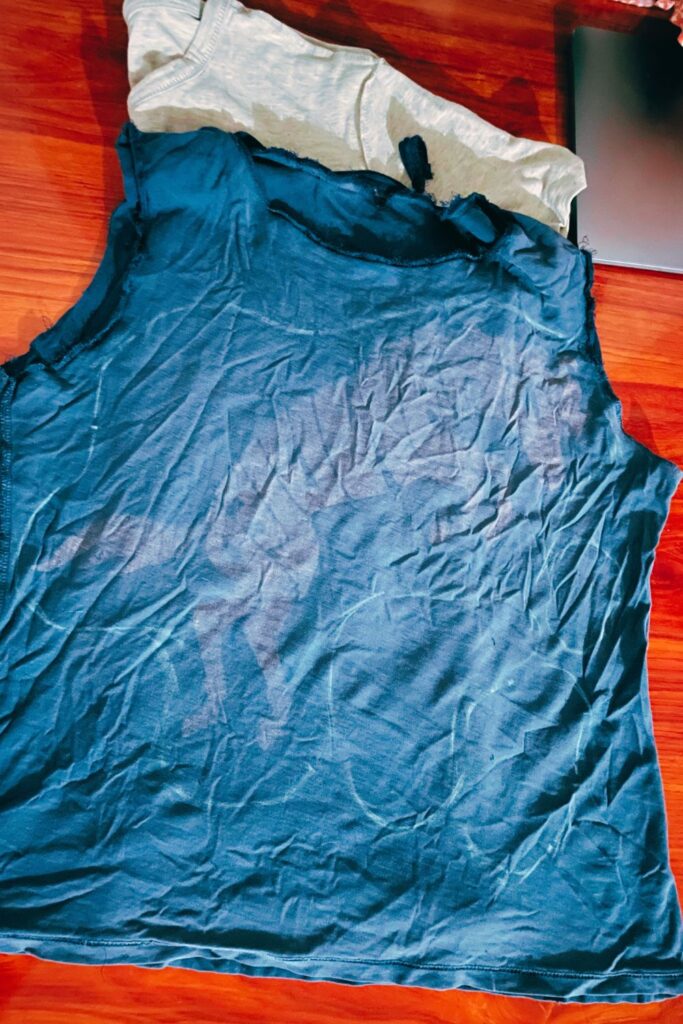
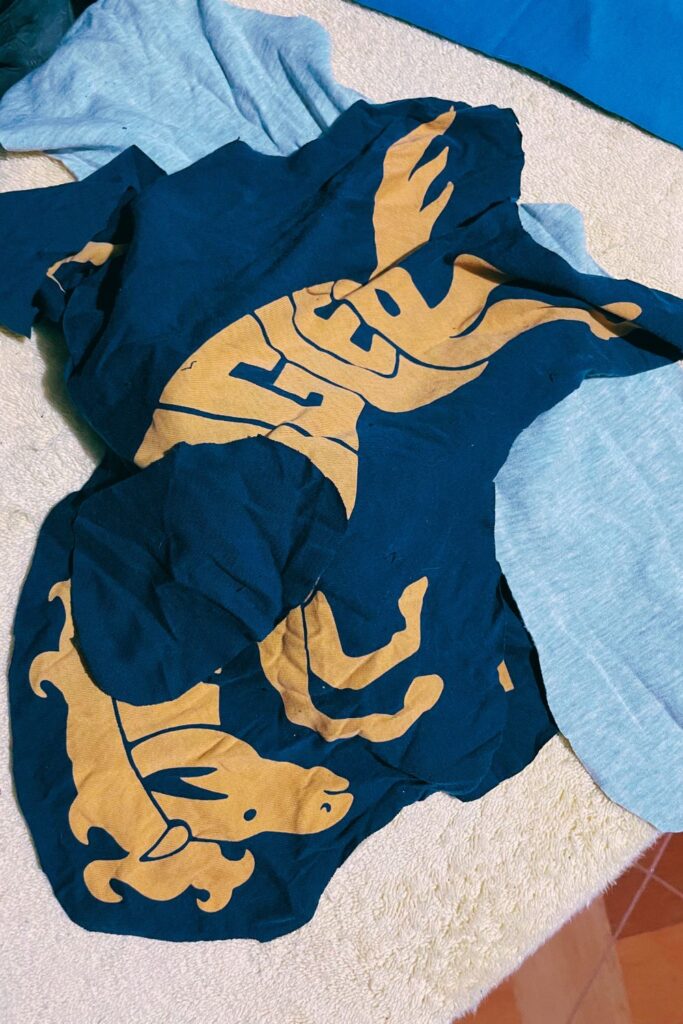
Now for the fun part that makes the wavy patchwork t-shirt – the wavy pieces! You can cut these out in any shape you desire. I recommend you cut a bunch of different sizes and colors – if the materials you’re using are more than one color – so that you can really have a lot of fun with the top.
FYI: The wider/thicker your wavy pieces are, the easier they will be to sew. The skinnier you make them and the more extreme curves they have will make it more difficult to manuver with your machine, especially if this is your first time making this kind of patchwork top.
Assembling your Wavy Patchwork T-Shirt
Start by sewing any of your panel pieces into the original needed size if you had to cut multiple pieces. Pin them with good sides facing and finish the raw edges with a zig-zag stitch or by overlocking.
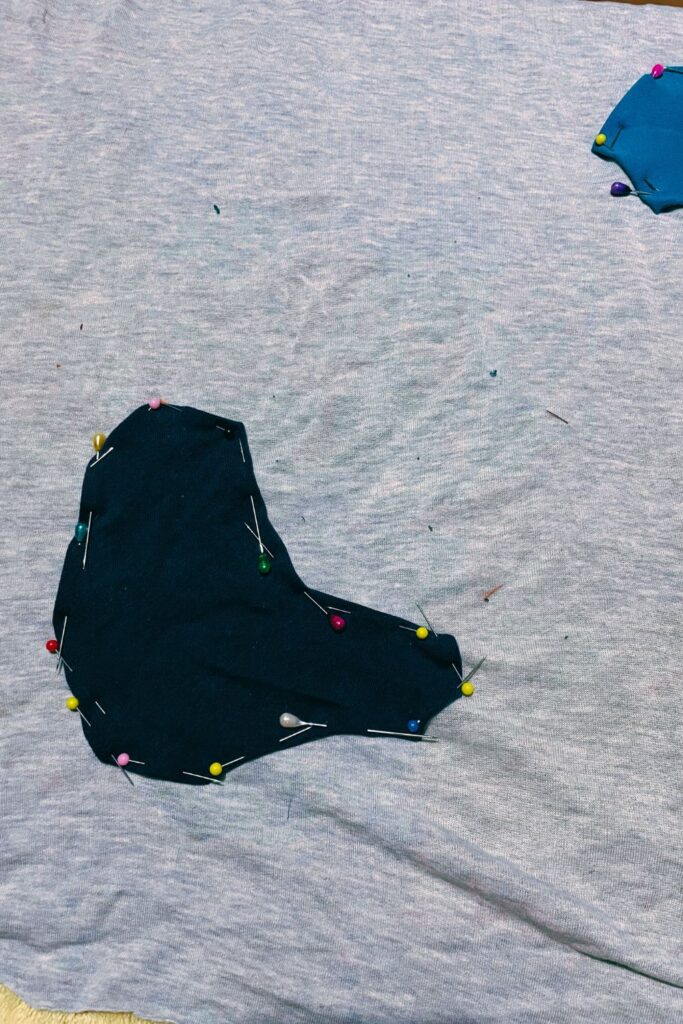
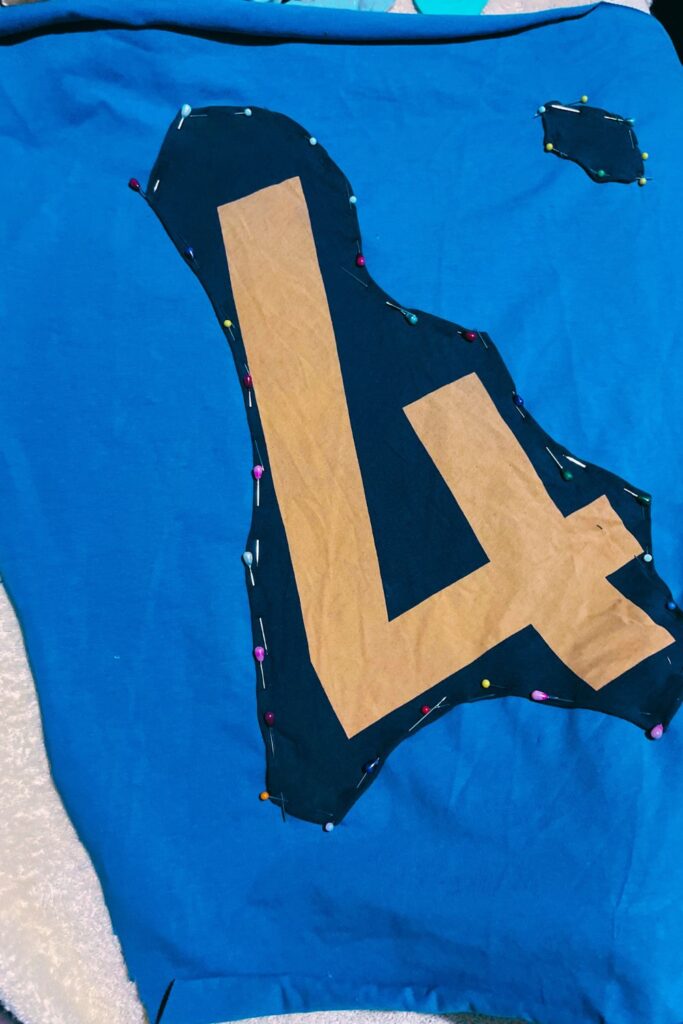
Then take all of your fun wavy bubble shapes and start pinning them to the good sides of the front, back and sleeve pieces in random placement. If you have any stains or faded spots on your material that need to be covered up, start by pinning your wavy pieces there and working everything around it till it looks good.
When you pin them in place you’ll want to tuck under the raw edge by .25″ – .50″ (.50cm – 1cm) to basically sew on a patch. Unless you want the raw, curled edge, which is a fun look.
Once all of your wavy patches are pinned on you can start sewing as close to the edge as you can get.
A little heads up. If you’re working with all cotton t-shirt-type materials it may be slippery to sew. If this is your first time making a wavy patchwork t-shirt it may get a little frustrating or it might not turn out exactly as you want. I recommend choosing a thread that matches your material and that you take it slowly. Remember that this is supposed to be a fun patchy top that doesn’t need to be perfect. An imperfect look adds to the edgy vibe of it. Remember you’re learning, be patient with yourself.
Sewing your T-Shirt Together
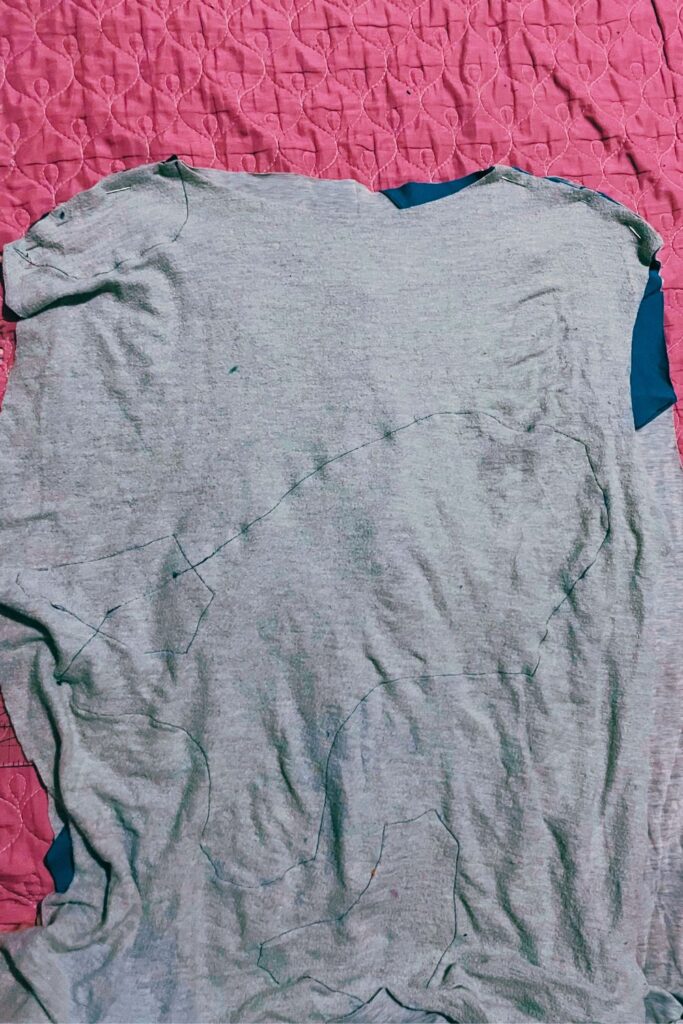
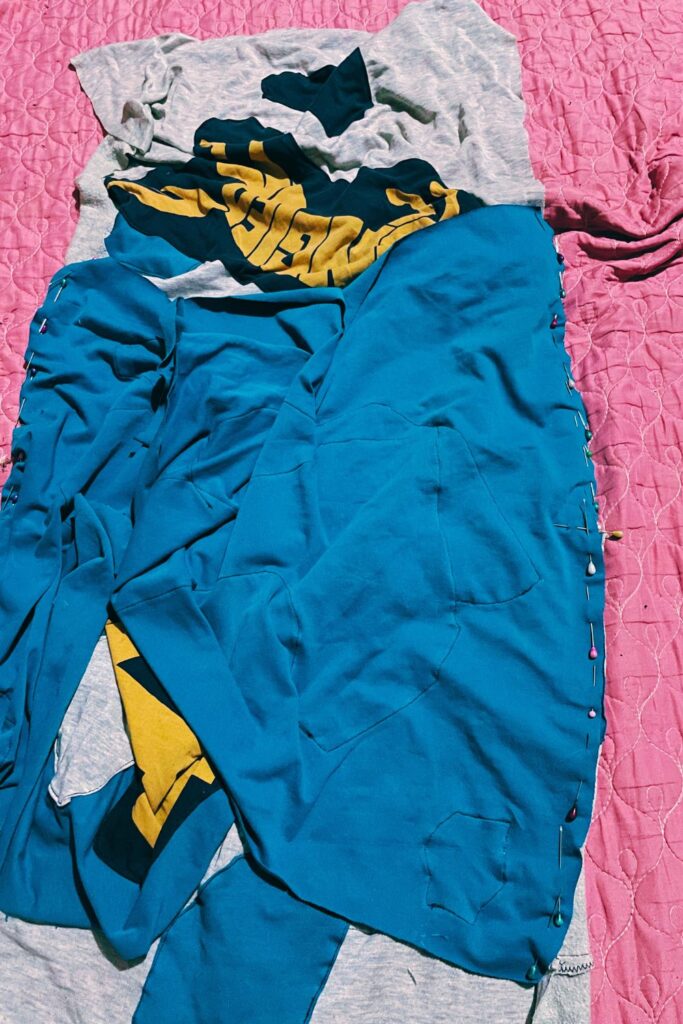
Once you have all of the little patches sewn in place pin the shoulder seams of the front and back panels together with good sides facing. Sew and finish any raw edges with a zig-zag stitch or by overlocking.
Next pin the shoulders of the sleeves into the shoulders of the top. Sew and finish the raw edges with a zig-zag stitch or by overlocking.
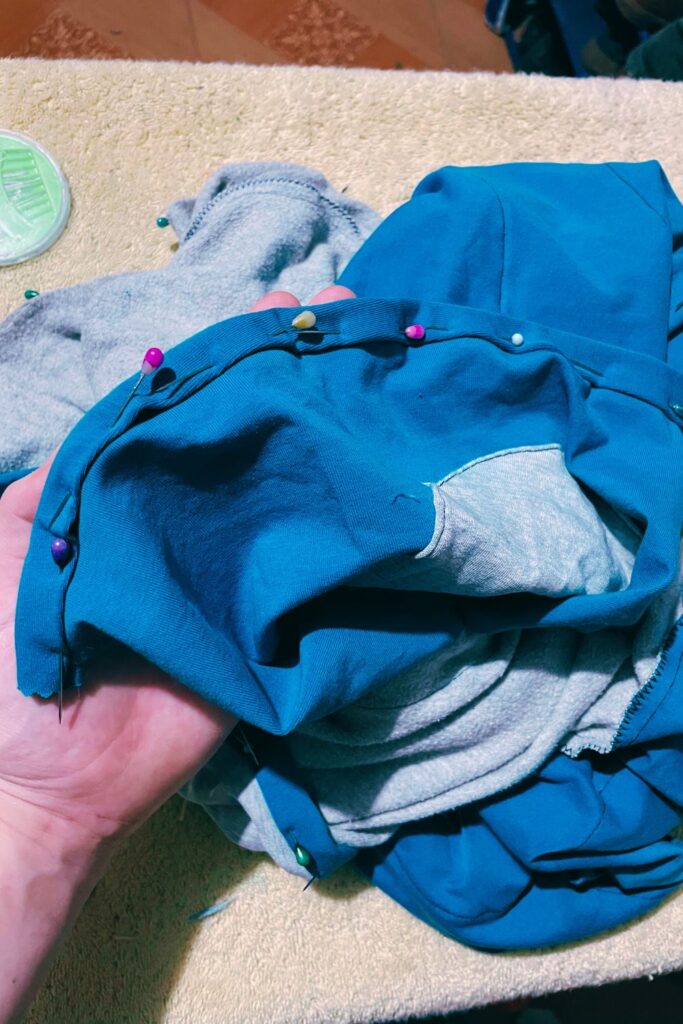
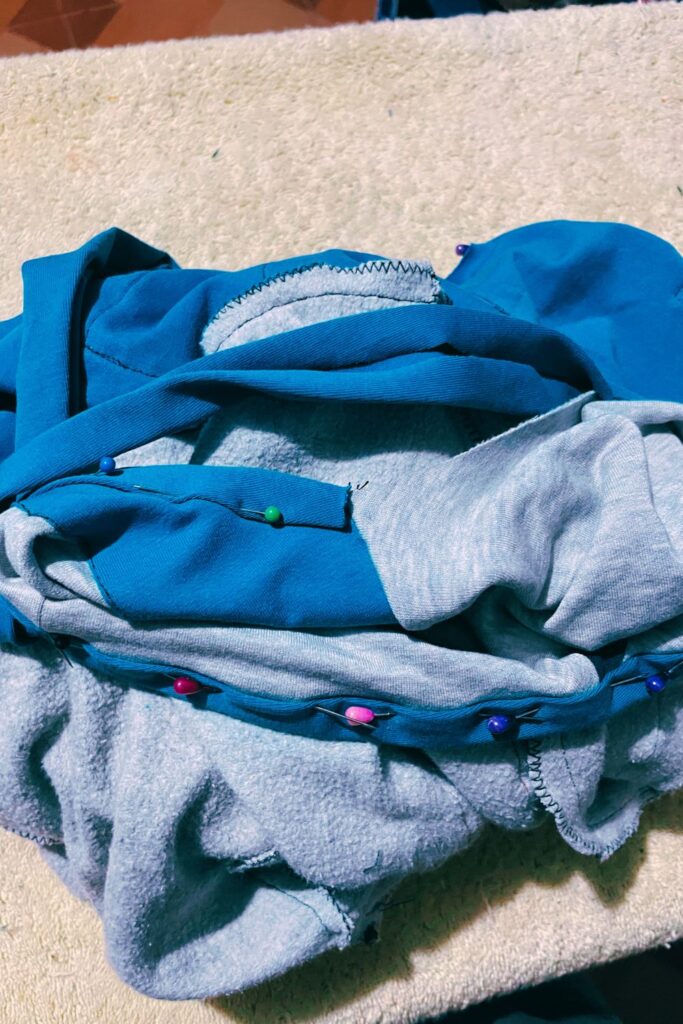
Now pin the sleeves, starting with aligning the seams in the armpits and working your way to the tip of the cuff and the bottom hem.
Before you sew these closed, if you haven’t cut your 2″ (5cm) strips for the neck, cuffs and bottom hem, do that now.
Iron each strip by folding them in half with wrong sides facing. Then fold the two raw edges inside and give it a press. Finally, fold the strip of fabric closed, concealing the raw edges inside. You should have something that looks like a strip of bias tape. Notice in the photo on the right how this looks with the raw edges folded to the inside. Or you can use something like a bias tape maker for this if you prefer.
Going back to your sleeves, take the bias tape you made and sandwich the raw edge of your cuff inside. Pin this in place and do the same with the neckline. Then sew these in place by topstitching with a matching thread.
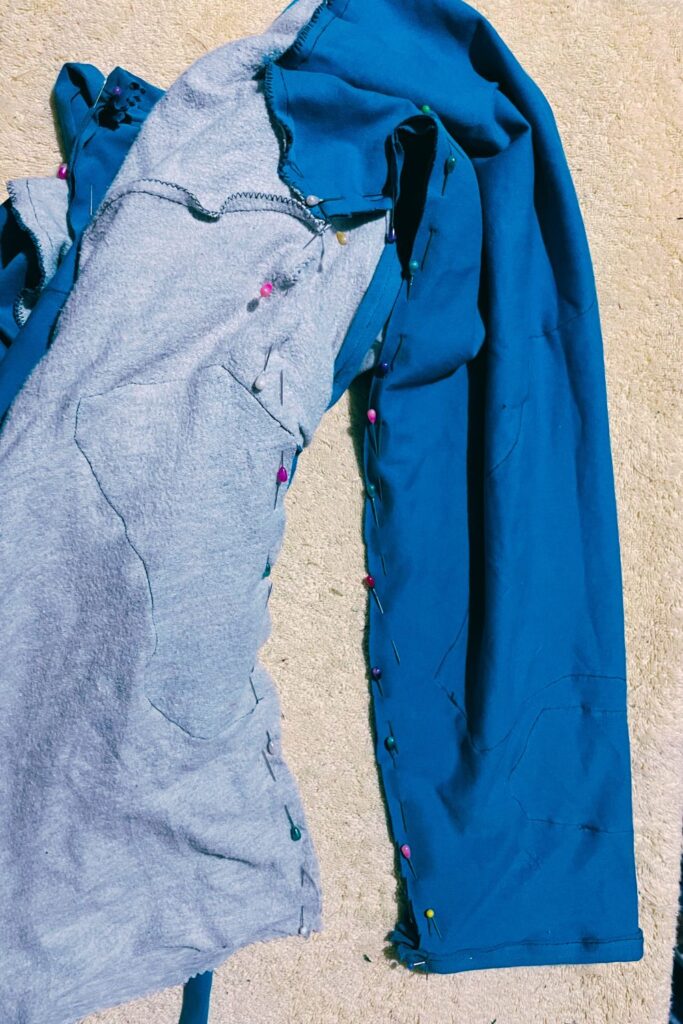
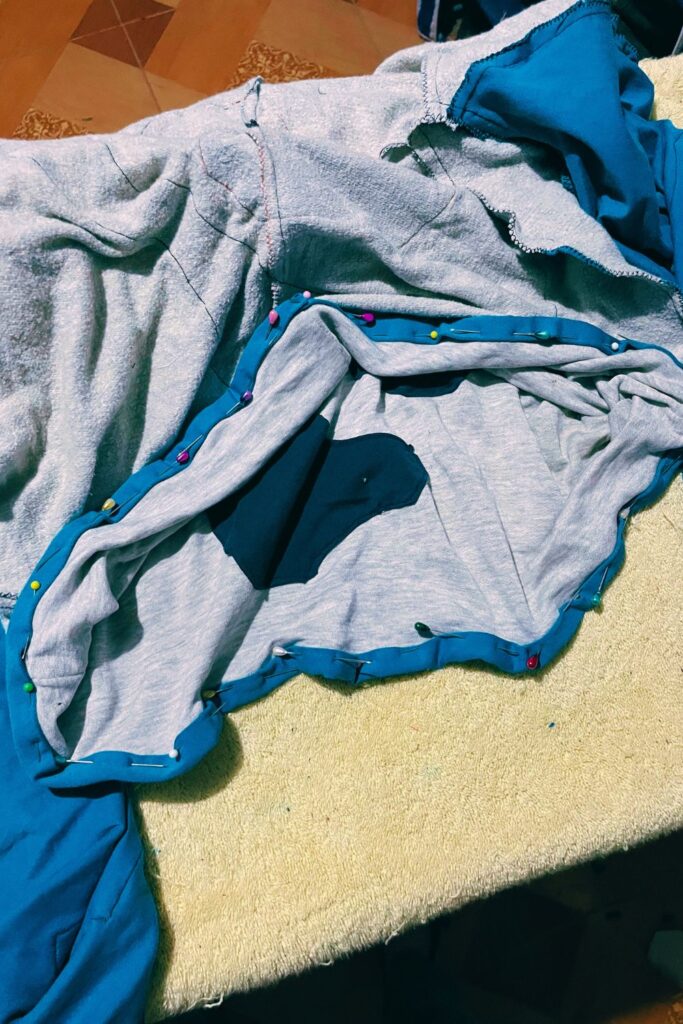
Now you can pin that bottom edge of the cuff once again and sew closed the side seams from the cuff to the bottom hem. Finish the raw edges with a zig-zag stitch or by overlocking.
Finally, take the last bias piece that you’ve prepped and pin it in place around the bottom hem. Sew it in place and marvel at your finished work!
Finished Results
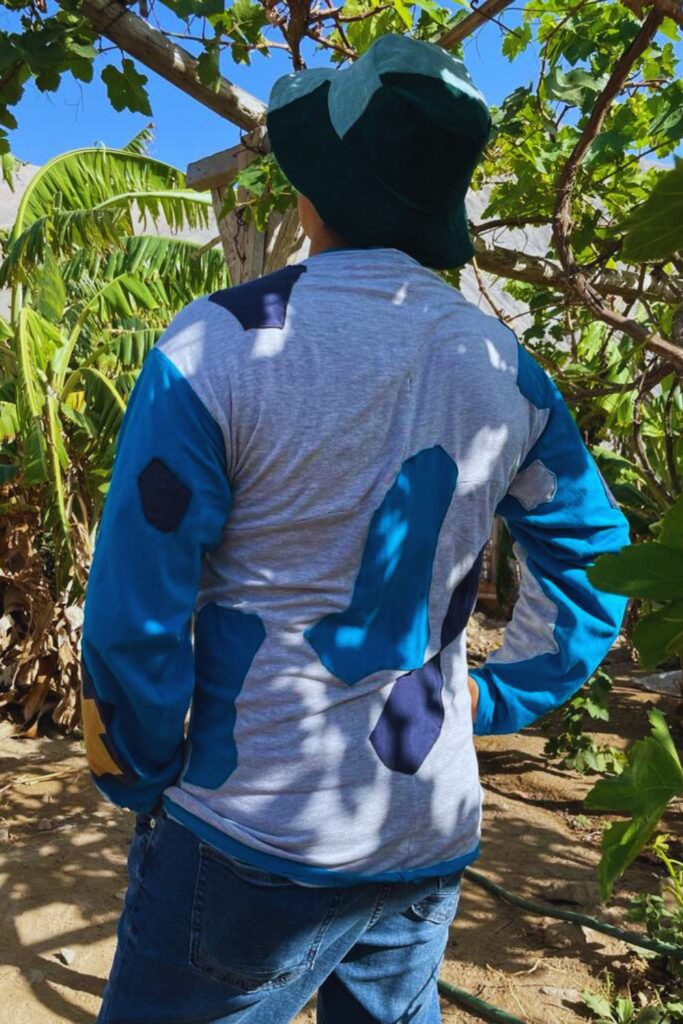

Let me know what you think of this wavy patchwork t-shirt in the comments.
If you decide to give this project a go, tag me on Instagram @doorsandfloorsblog and use the hashtag #DoorsAndFloorsBlog so I can see what you make!
Explore other recent posts:
- Remote Work Life in Perú: Introducing The Chickens
- How To Make A Kids Scrap Fabric Top: Design #3
- The Truth About Working Remotely In Perú
- How To Make An Eyelet Top Out Of Scrap Fabrics: Design #2
- 10 Interesting Restaurant Culture Shocks From Eating Out In Perú
Find us on social media!
P.S. Looking for a fun activity you can do with a friend while working on tedious crafty tasks, download our free trivia here.
Playing trivia is a great way to keep your mind active and have fun with your crafty friends and family while busting out those seam ripping, crocheting, and other time-consuming, but necessary, crafty tasks.


