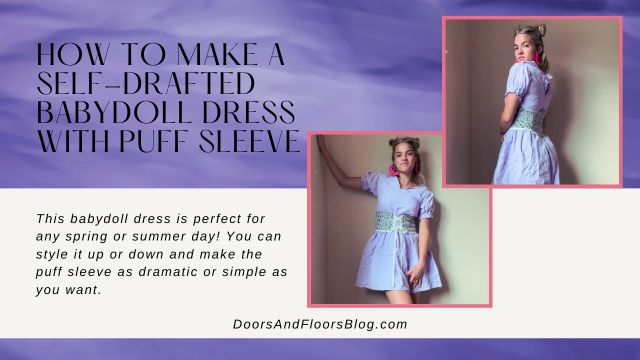
Today we’re making a self-drafted babydoll dress with a puff sleeve and tie back.
This project is the third piece that I created for my incredible friend Jo, of Benji and Frankie’s Shop. Knowing I only had a short amount of time to put together these three projects for her, I wanted to make sure that each project neither required me to make an intricate pattern nor required zipper or button installation. As all three of those would greatly add to the time it takes me to complete a project.
You can find my friend, who I consider to be the Crochet Queen, over on Instagram @BenjiAndFrankiesShop, or check out her shop here and explore some of her other incredible designs and creations!
Now let’s get into sewing this babydoll dress!
This post may include affiliate links.
Please read my disclaimer page for more info.
*As an Amazon Associate, I earn from qualifying purchases.*
Approximate time put into this project: 8-10 hours spread out across 2 weeks
What You’ll Need:
- 2 Meters Fabric, depending on your size.
- I recommend an extra meter if your fabric is thin and you need to line the dress. I used every last bit of my fabric except for a 5″ square. You will also need more if you want the sleeves and skirt puffier.
- Matching thread
- Scissors
- Sewing machine
- Straight stitch foot
- Sewing pins
- A shirt that you like the fit of for reference
- Fabric tape measure
- Fabric chalk
- Elastic for the sleeves
- A few safety pins
- Ironing board and iron
Disclaimer: I am trying to teach myself the Metric System, I will always try to include both measurements in my tutorials, i.e. centimeters and inches, meters, and yards. Though I have been using them interchangeably in my everyday sewing life lately, I apologize if I miss including both or switch between the two too often.
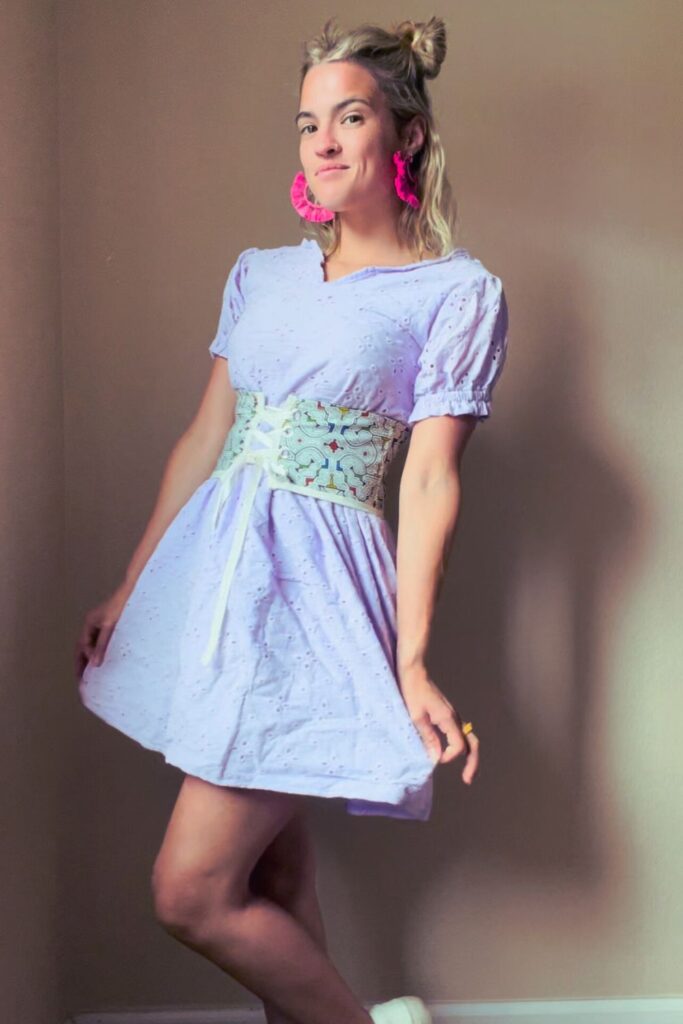
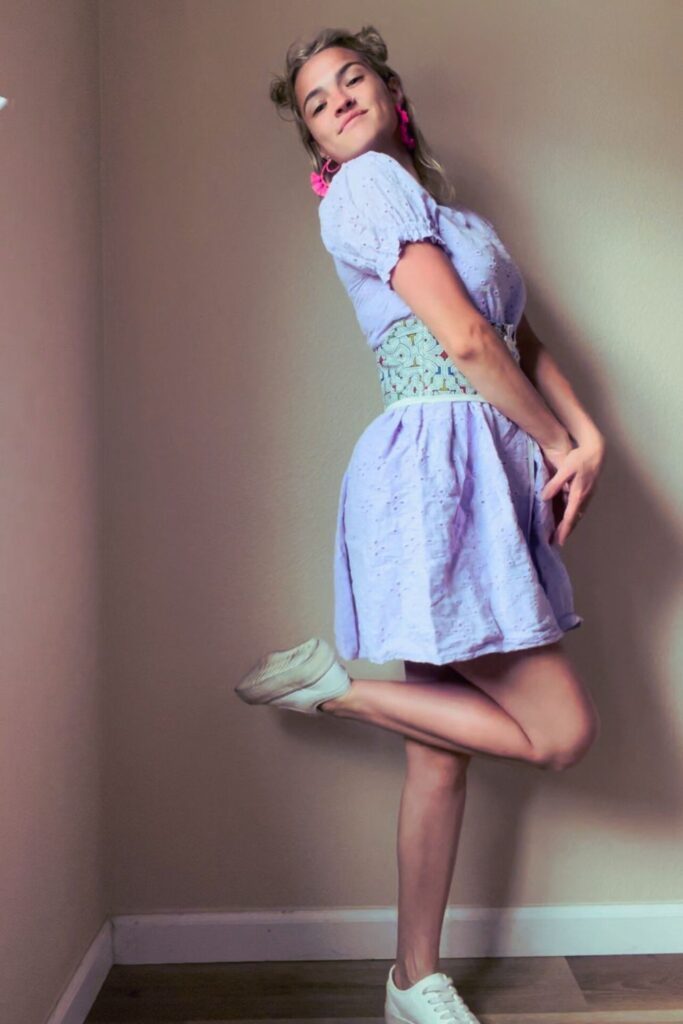
Creating Your Babydoll Dress Pattern
To get started, you’ll want to note your measurements somewhere. You’re going to need the following measurements:
- Bust
- Fullest hip
- Length from shoulder to waist (or where you want the skirt to start)
- Desired length of the skirt
- Desired sleeve length
This dress was designed for my friend, and not me, so using my own shirt as a reference I had to make sure I sized down to match her measurements. I have broader shoulders than her and am taller.
We want this dress to be a little loose, so we’ll be adding 1″ (3cm) of seam allowance around all sides instead of a .50″ (1cm) seam allowance. If you’re lining your dress, please cut an additional .50″ (1cm) seam allowance for each piece.

Fold your fabric in half and lay your T-shirt, folded in half at the center front on top of it. Then get out your tape measure, fabric chalk, and pins. Since we’re not drawing up our pattern on a piece of paper, we’ll use sewing pins or fabric chalk to mark everything.
Measure from the shoulder line down to the bottom of the fabric to first make sure you have the measurement you took earlier. This should be your measurement from your shoulder to your waist, plus 1″ (3cm) of seam allowance. Remember to also include the same seam allowance on the sides.
Next measure your top from the folded line, it should be a quarter of your bust measurement. You can see in the picture above that my top was a little too wide, so I pinned up that outer edge to bring the width in a little.
Before we cut, if you want to tweak the design of your babydoll dress to be different than your reference shirt, for example, I needed to create a different shoulder line, now’s the time to do that. I measured how far I wanted the shoulder line to go and put a pin in it. Then when I went to cut my fabric I curved my cut from the side seam up to the pin at the top of the shoulder. I also made sure to include the V at the neckline.

Cut this piece out, but don’t cut the center fold apart. You can see here the piece I cut. If you’re lining your babydoll dress, make sure you cut two of each piece.
Cut the back pieces (you will need two pieces for the back, plus lining) by repeating the same folding method. Or you can lay your folded front piece on top of your fabric. Remember to trace your reference shirt’s neckline and any other differences onto your fabric before you cut it.
For the skirt, the longer your piece is, the more gathered and puffy your skirt will be. At a minimum, try to have a piece of fabric that is twice the length of your hip measurement. The height is to your preference.

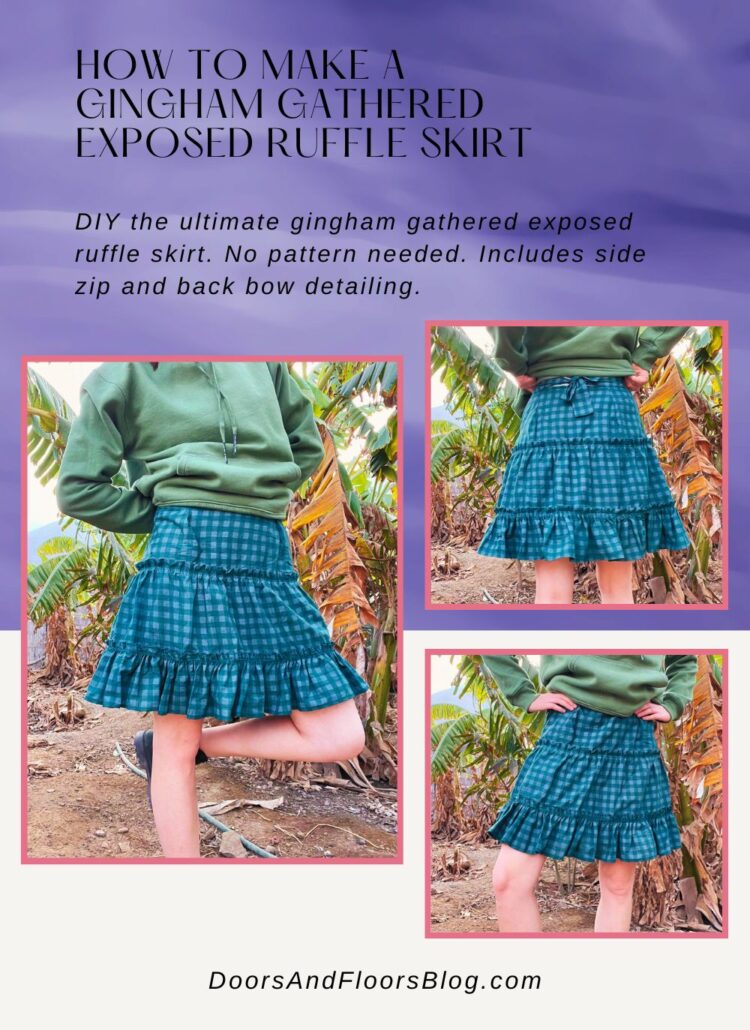
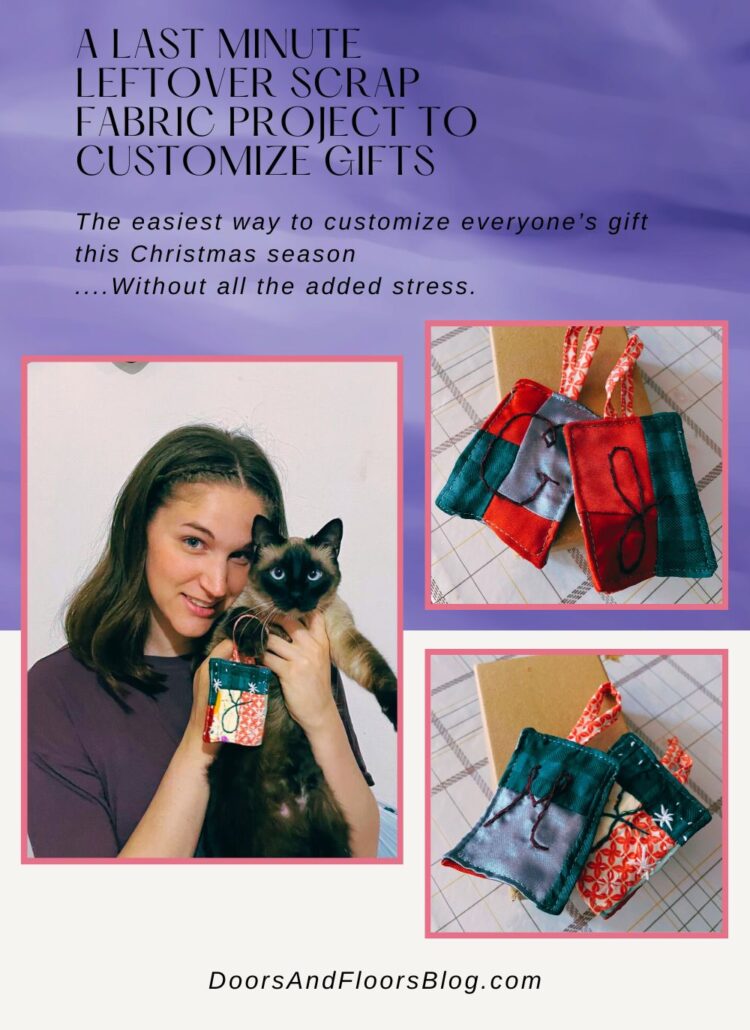
To create sleeves, simply fold your piece of fabric and line the curve of your top piece up along the side edge. You can see this in the above picture. The folded line should be at the very top, and the open section at the bottom, like a typical sleeve, how it has a seam under the armpit.
You can make the sleeve taller for a more puffy look, and as long as you want. Whatever your desired sleeve length is, make sure you add an extra 3″ (8 cm) to the length of your sleeve, because we’re adding an elastic to the end which will shorten then end total length of the sleeve. You can add more length if you want the end of the ruffle to be thicker. See the picture below for what I mean, notice the elastic is not on the very edge of the sleeve.
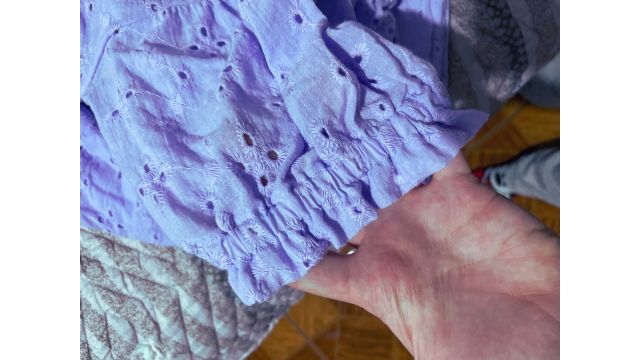
I was out of fabric at this point and had to create very small sleeves. In the picture above when I was tracing my curve onto the sleeve, I had only two small rectangles. Can you tell I forgot about sleeves until I had already started sewing the dress?
Assembling the Top

If you’re doing a lining, start by pinning all your top pieces together, good sides facing, to their matching pieces. Leave the bottom edge open so you can turn them right sides out. Sew them together, turn them right sides out, and iron them flat along the seams for the best results.
Disclaimer: Yeah…apparently I didn’t iron first. You should be better than me and do this before you cut your fabric. Shame on me!

Pin the back pieces together, good sides facing, along the center seam. We’re only going to sew this up part of the way because we’re going to add a tie at the top later. Make a mark 5″ (12cm) down from the neckline. Sew below this line to the end of the top.

Cut a long strip of fabric 1″ (3cm) wide, the length of your neckline. In my case, because I did a V neck I chose to cut two pieces. You can fold and iron this into a bias tape strip to make it easier, then pin it along your neckline.

Here’s a look at how my two pieces looked when they connected in the middle in the front. I pinned them in place so they connected perfectly in the middle before sewing the two strips of fabric down. After the strips are sewn, go to the back of your top where the two pieces meet in the middle, and sew back and forth a few times with a straight stitch to secure the end. Trim any excess fabric.

Pin the top pieces together at the shoulders, good sides facing, and sew. Put this aside for a little bit while we create the sleeves.
Sewing the Sleeves

Before we attach the sleeves to the top, we’re going to prep the elastic section.
On the very bottom edge of your sleeve fold the end up by .50″ (1cm), pin, and sew in place.
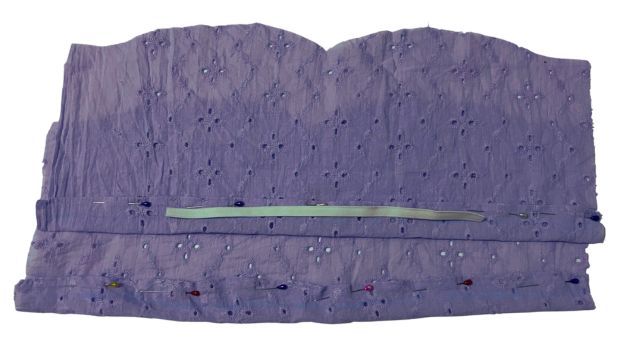
Next, we’re going to create the tunnel for the elastic. Fold up the clean finished bottom edge and measure how thick you need the tunnel to be for the elastic. Remember that we want to leave a space of fabric below the tunnel.
Measure your elastic around your arm where your sleeve is going to fit. Make sure it’s not too tight, and cut it with an extra .75″ (2cm) of extra length so we can sew it down.
I don’t think you can see the blue chalk line in the photo above very well, but I drew a line exactly where I want to sew my straight stitch to create the tunnel. You’ll want to sew two lines, one along the very top edge that’s folded up, and the second on the line you drew.
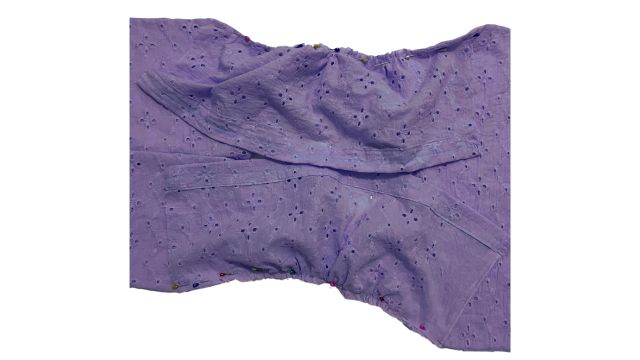
If you created your sleeves a little bigger than the shoulder, sew a basting stitch along the shoulder line of the sleeve. Then gather it to fit the length of the shoulders. Pin the sleeves, good sides facing into the shoulders. Sew your sleeves in place and zig-zag stitch or overlock this edge.

Thread your elastic through each tunnel with a safety pin. Pull the elastic out each end by .50 (1cm) and pin in place with a few pins. You want to pin it in place really well so it doesn’t fly back into the tunnel and get stuck.
Sew the ends of the elastic down with a zig-zag stitch, going back and forth a few times to ensure everything is really secure.

Fold your top together, good sides facing, and pin everything in place. Make sure the armpit seams and the ends of the sleeves all line up. Sew the side seams and sleeves together. Finish with a zig-zag stitch or overlock stitch.
If the end of your top is not even go ahead and trim everything to make sure it all lines up. Overlock or zig-zag around the bottom edge to create a clean finish. If you had lined it, this will help hold all the layers together as well.

Cut two strips of fabric 1″ (3cm) 10″ (25cm) or whatever length you’d like your ties to be. You can use something like a bias tape maker for to prepare these, or just grab your iron and fold it in half with wrong sides facing. Then fold the raw edges to the inside, fold the strip in half, and press.
Take your folded fabric and pin along the open edge. When you reach the ends remember to tuck the raw part to the inside, you don’t need to tuck both ends in since one end will be sewn into the top.
To finish, simply sew along the edge to secure everything.

Pin them at the top corners of the inside at the back of the top. They should face down, into the top. Sew a straight stitch a few times. Fold them up and sew a straight stitch a few times again to secure them in place.

Sewing the Skirt

If you’re lining the skirt of your babydoll dress, go ahead and pin the two rectangles together, good sides facing, along three sides. Sew these together and turn it right side out.

Iron the edge we just sewed so it lays flat. Then create a basting stitch on the pretty top edge. Before you begin to gather it, create a rolled hem along the bottom, raw edge, and sew it in place.
Attaching the Skirt to the Top
Measure the width of your finished top. Gather your skirt to that width plus .75″ (2cm). I recommend tying a knot on one end of your gathers and then you can use the other end to get exactly to the width you need. Once it’s right tie a knot in the other end. Since it’s a gathered skirt if you’re off by 1-2cm you’ll be able to fix it when you’re pinning the skirt and top together. You can make it work, I believe in you!

Then pin the open edge of your skirt together, good sides facing and sew it.

While your skirt is currently inside out, take your top, right side out and put it inside the skirt. Pin the top and skirt of the babydoll dress together along the waist. Make sure everything is pinned in the correct direction so that the seams of the top and the skirt meet in the back and the babydoll dress will have the correct sides out once its sewn in place.
Once you’re sure everything is right, sew it in place and turn your babydoll dress right side out.
The Finished Results
Time to celebrate – because you did it! I’m so proud of you!!
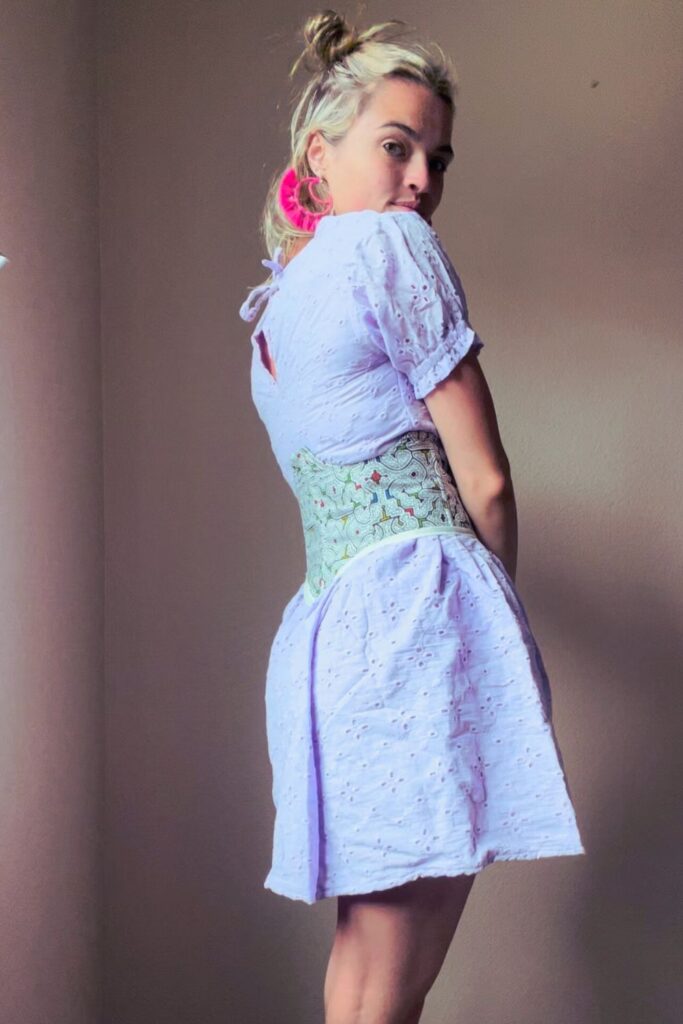
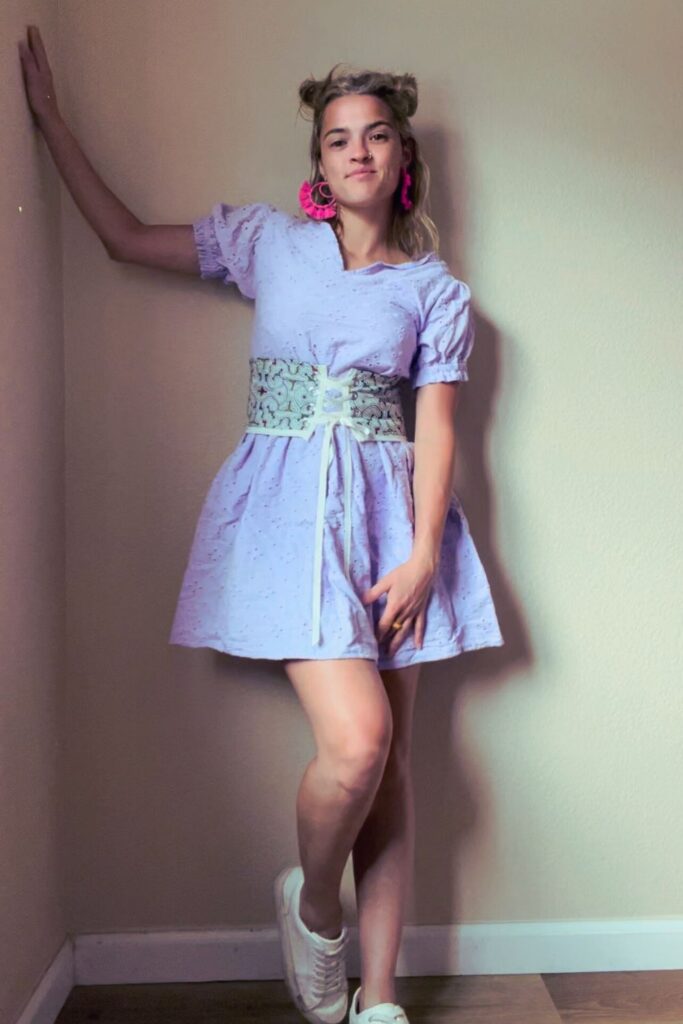
If you liked this post, check out our other two sewing project collaborations with Benji and Frankie’s Shop.
Remember to check out Benji and Frankie’s on Instagram @BenjiAndFrankiesShop or check out her shop here and explore some of her incredible crochet creations!
If you decide to give this project a go, tag me on Instagram @doorsandfloorsblog and use the hashtag #DoorsAndFloorsBlog so I can see what you make!
Explore other recent posts:
- Remote Work Life in Perú: Introducing The Chickens
- How To Make A Kids Scrap Fabric Top: Design #3
- The Truth About Working Remotely In Perú
- How To Make An Eyelet Top Out Of Scrap Fabrics: Design #2
- 10 Interesting Restaurant Culture Shocks From Eating Out In Perú
Find us on social media!
P.S. Looking for a fun activity you can do with a friend while working on tedious crafty tasks, download our free trivia here.
Playing trivia is a great way to keep your mind active and have fun with your crafty friends and family while busting out those seam ripping, crocheting, and other time-consuming, but necessary, crafty tasks.


