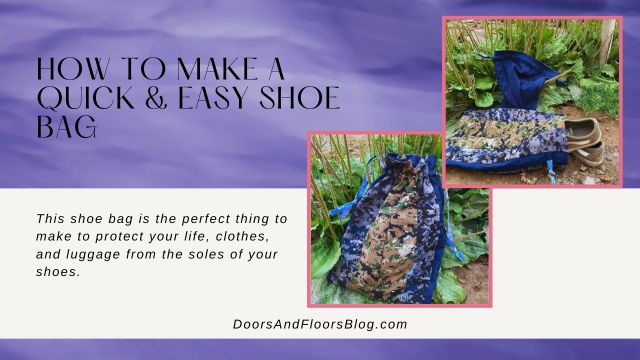
Hiii! I don’t know about you, but I do a lot of traveling around here, so a second pair of shoes is a necessity. Today, we’re making a shoe bag – to keep the things inside our travel bag clean and to make the shoes easier to carry.
This project is incredibly easy to sew and can be made in an afternoon. Are you interested? Let’s get into it!
If you prefer a shoe back with a pocket – check out this tutorial here.
This post may include affiliate links.
Please read my disclaimer page for more info.
*As an Amazon Associate, I earn from qualifying purchases.*
Approximate time put into this project: 2 Hours, from cutting to the finished result
What You’ll Need:
- Fabric, maybe .50 a yard if you’re making only one
- Fabric chalk
- Fabric tape measure and/or ruler
- Sewing machine
- Matching thread
- Scissors
- Iron and ironing board
- Sewing pins
- A safety pin for feeding the ties through the tunnel in the bag
Disclaimer: I am trying to teach myself the Metric System. I will try to always include both measurements in my tutorials, i.e. centimeters and inches, meters, and yards. I have been using them interchangeably in my everyday sewing life lately, sorry if I switch between the two too often or forget to include them both. Thanks for understanding!
Cutting Your Pieces
You’ll need to cut the following pieces of your fabric:
- 1.5″ x 34″ (4cm x 86cm) – cut 2 for the ties
- 14″ x 19″ (36cm x 49cm) – cut 2 of your lining fabric
- 14″ x 19″ (36cm x 49cm) – cut 2 of your outside fabric
However, you can make the bag 1″ (3cm) bigger on all sides, if you’re holding something more like boots instead of sneakers. For that, you would want to cut the following:
- 1.5″ x 35″ (4cm x 89cm) – cut 2 for the ties
- 15″ x 20″ (39cm x 51cm) – cut 2 of your lining fabric
- 15″ x 20″(39cm x 51cm) – cut 2 of your outside fabric
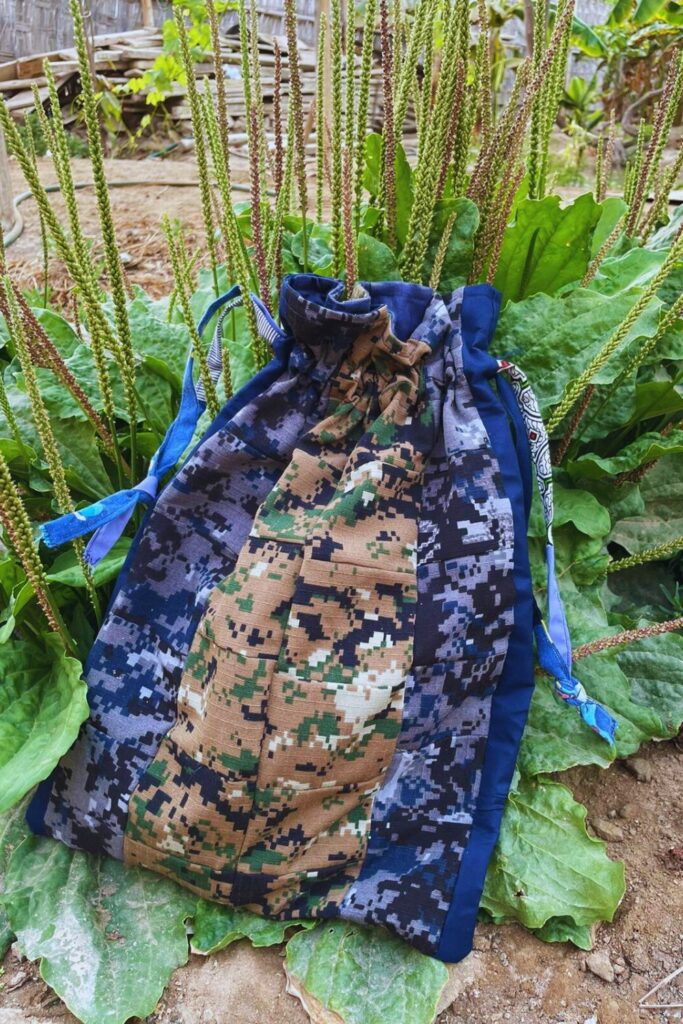
This project can easily be made using scrap fabrics if you want to patchwork your pieces into the necessary width and length. I patchworked scrap fabrics for every piece for the first two bags that I made. You can easily use scrap materials boldly or subtly depending on what pieces you pair together.
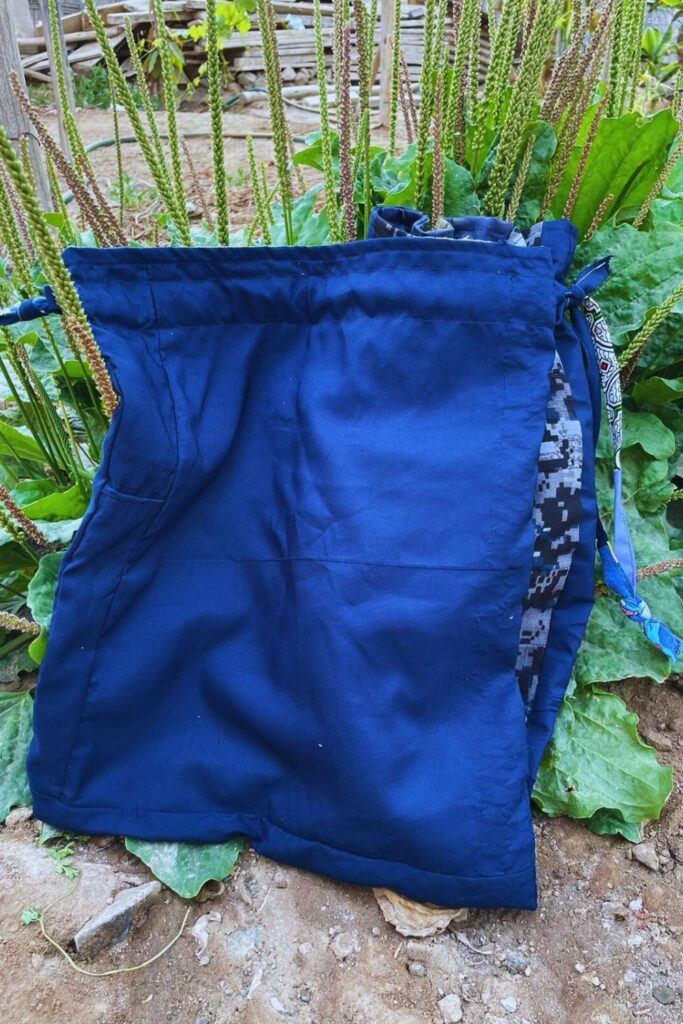
Consider using up your small scrap materials by making the ties! I love the finished result of my patchy ties paired with my solid blue bag.
NOTE: You may notice the tutorial and the end result are different materials because I made several at once and only took pictures of one.
Sewing the Shoe Bag
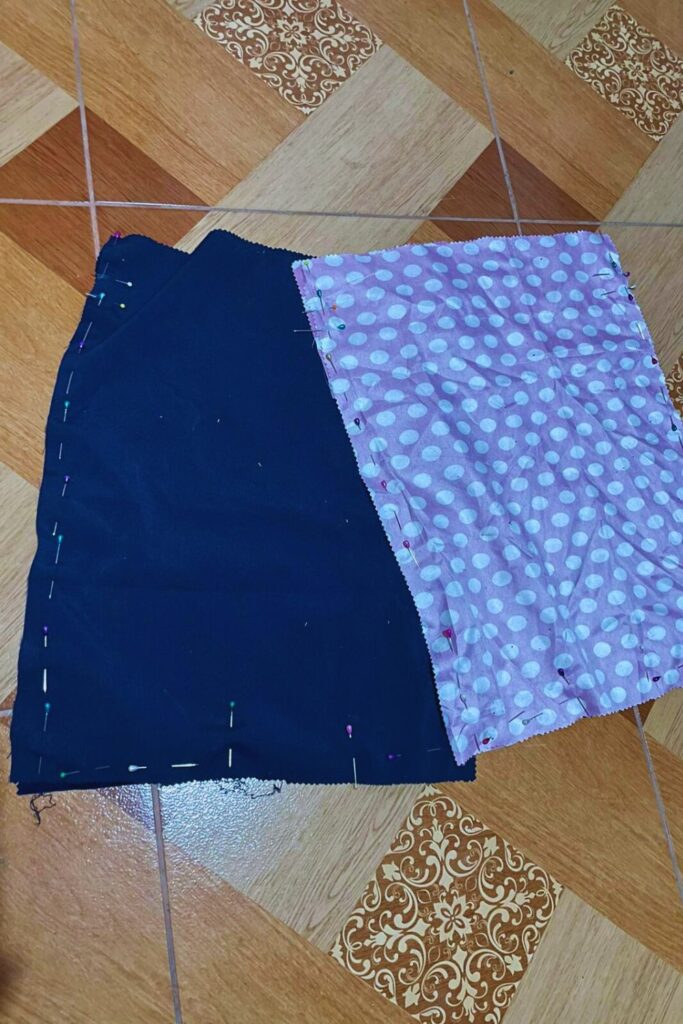
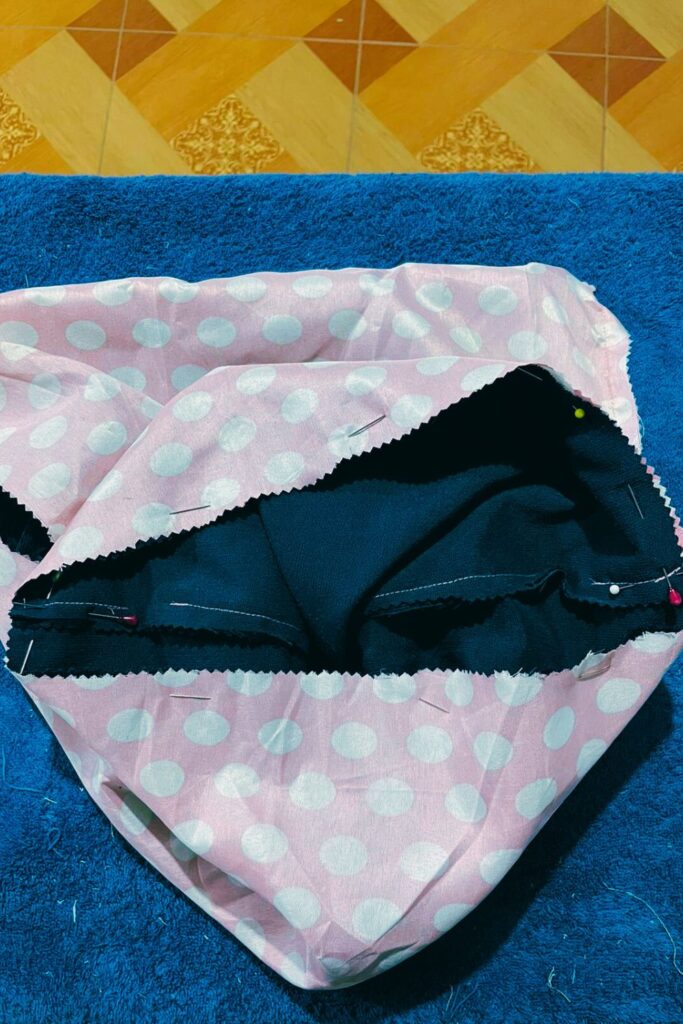
Start by placing the good sides facing of your two lining pieces, doing the same with your two outer pieces. Pin them together along the bottom and both sides. Before you sew anything in place we need to make a few marks for the ties and leave a spot unsewn at the bottom so we can pull the lining through after we’ve sewn everything together. I left a gap in the same spot on both the lining and outer shell about 4″ (10cm) wide.
For the holes for the ties, from the top edge of your lining pieces, measure down 2″ (5cm) and make a mark with your fabric chalk. Next measure down from this mark .75″ (2cm) and make another mark. Repeat this on the other side as well as on the outer shell. I like to add an extra pin directly on the marks I made to ensure I don’t forget and accidentally sew over these lines.
Now sew up the sides and the bottom of the outer shell and lining pieces. Making sure not to sew over the gap we marked in the side and leaving a gap open in the bottom.
Turn one of the bags right sides out and leave the other inside out. Nestle one of the bags inside the other so that the good sides are facing and pin around the top edge. Sewing to connect the two and make your shoe bag.
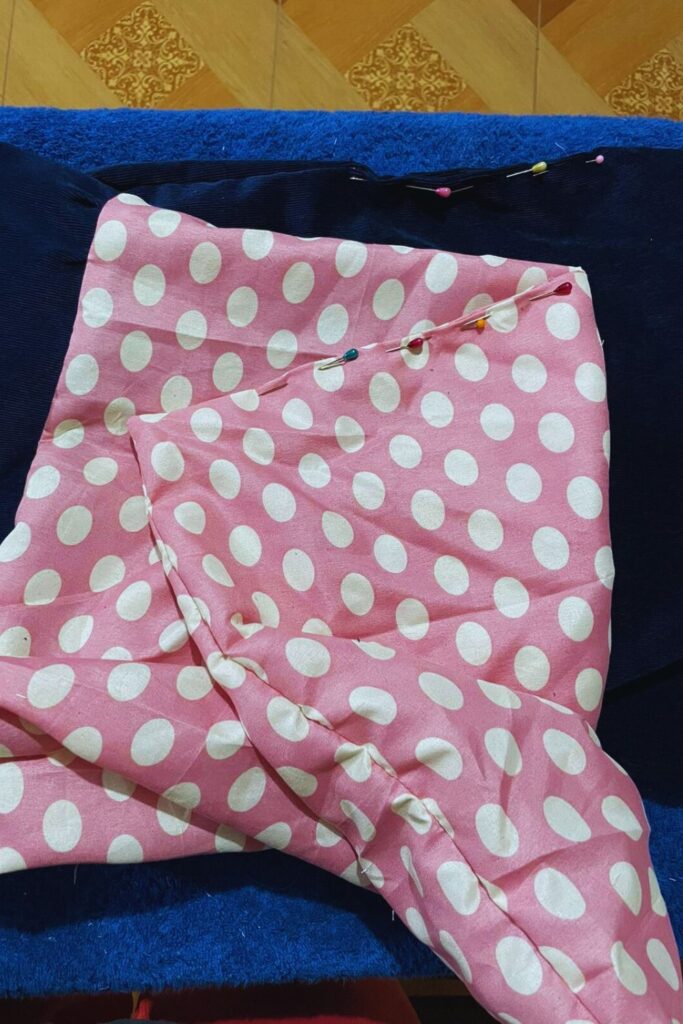
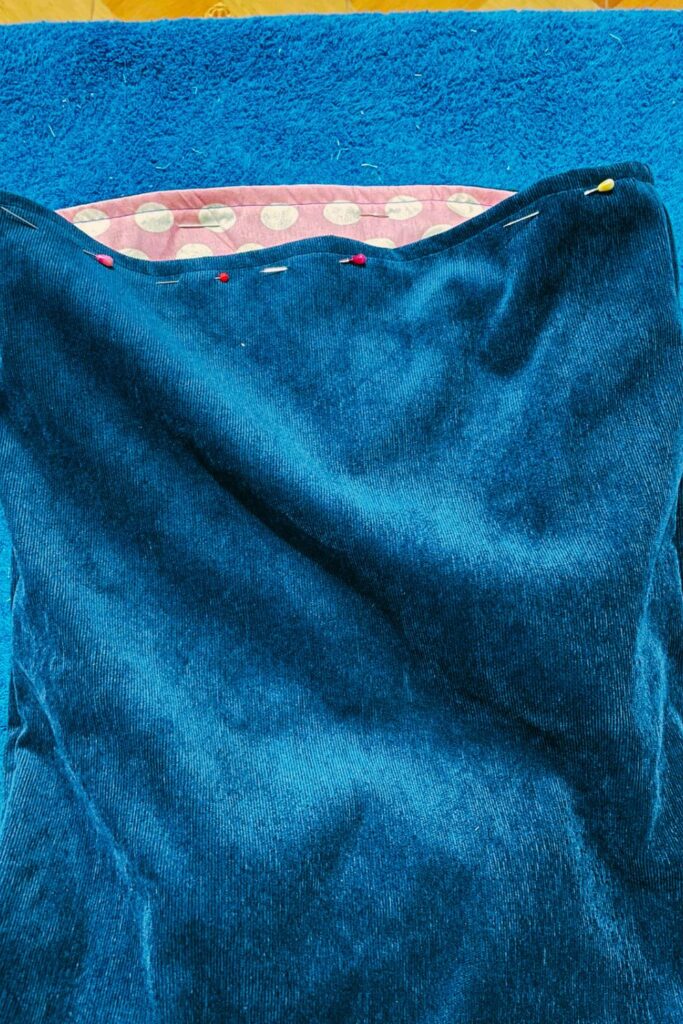
Once it’s sewn together, pull both bags through the holes you left in the bottom so that everything has the right sides facing out. Remember to pull the corners out so they sit nicely. Pin both gaps closed in the lining and the shell, top stitching to close the hole.
Nestle the lining inside the outer shell and pin along the top edge so that the lining and the outer shell don’t move, then sew a straight stitch around the top edge of the shoe bag.
Sewing the Ties
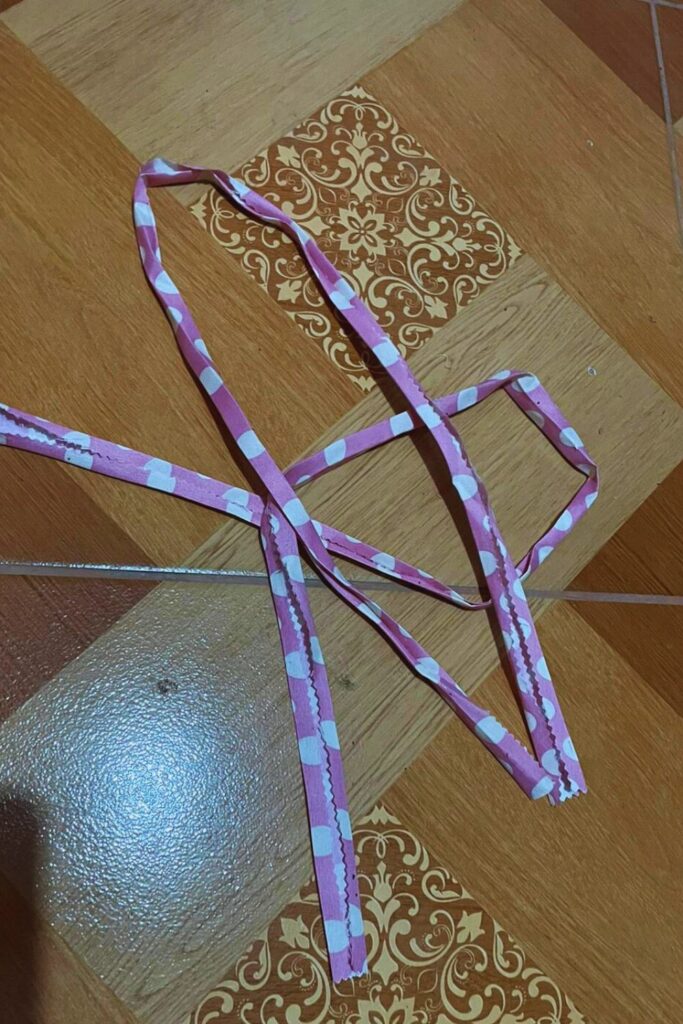
To prepare the ties for the shoe bag, iron each strip by folding them in half with the wrong sides facing. Then fold the two raw edges inside and give it a press. Finally, fold the strip of fabric closed, concealing the raw edges inside. Take the ties to your sewing machine and sew along the raw edge. I recommend folding the raw edge at the end of the strap to the inside before you sew it in place, doing the same for the other end when you reach it.
If it’s easier, you can use something like a bias tape maker for this instead!
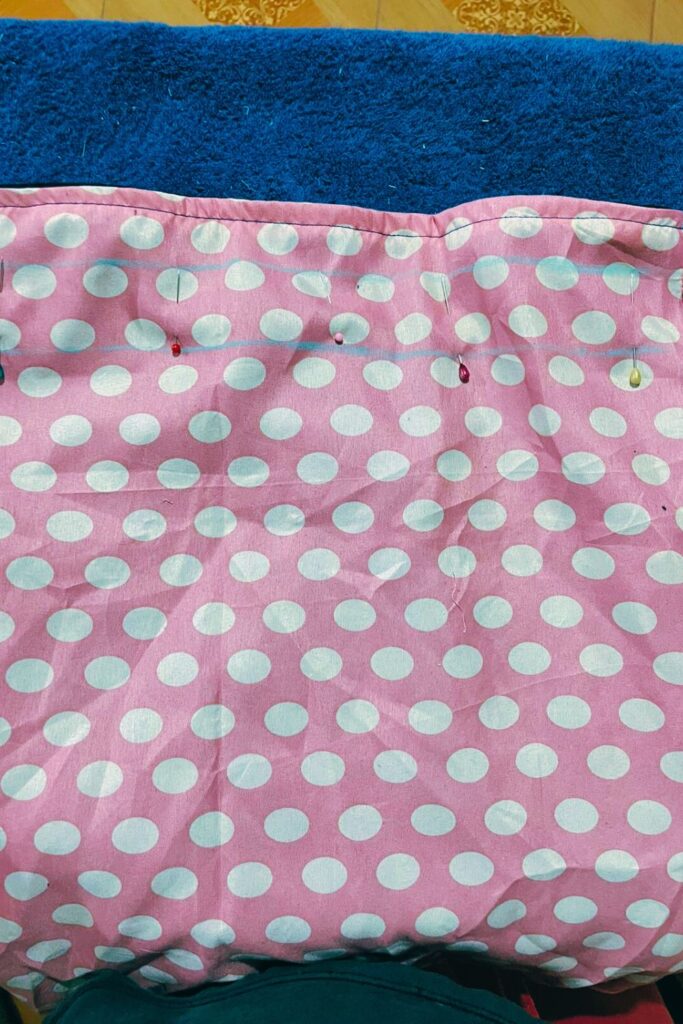
Flip your shoe bag inside out. Grab your fabric chalk and a ruler and draw two straight lines on either side of the holes we left for the ties. Drawing all the way around until you complete both circles. I used the pins in the photo on the right to keep the shell and lining from sliding apart while sewing.
Sew a straight stitch around the bag following the lines drawn, creating a tunnel to feed the ties through later.
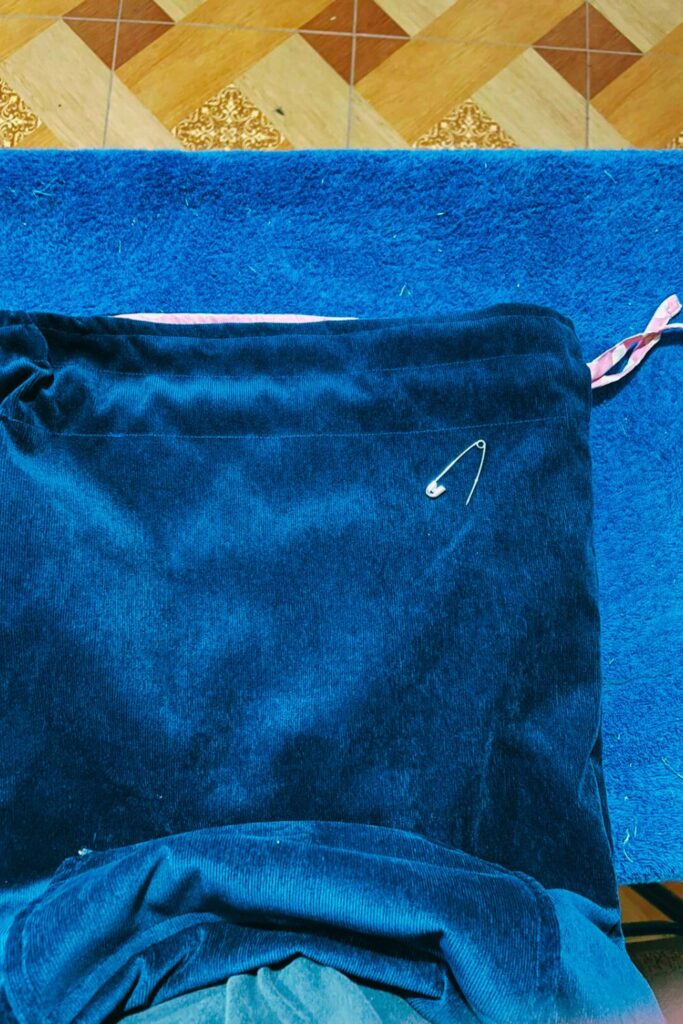
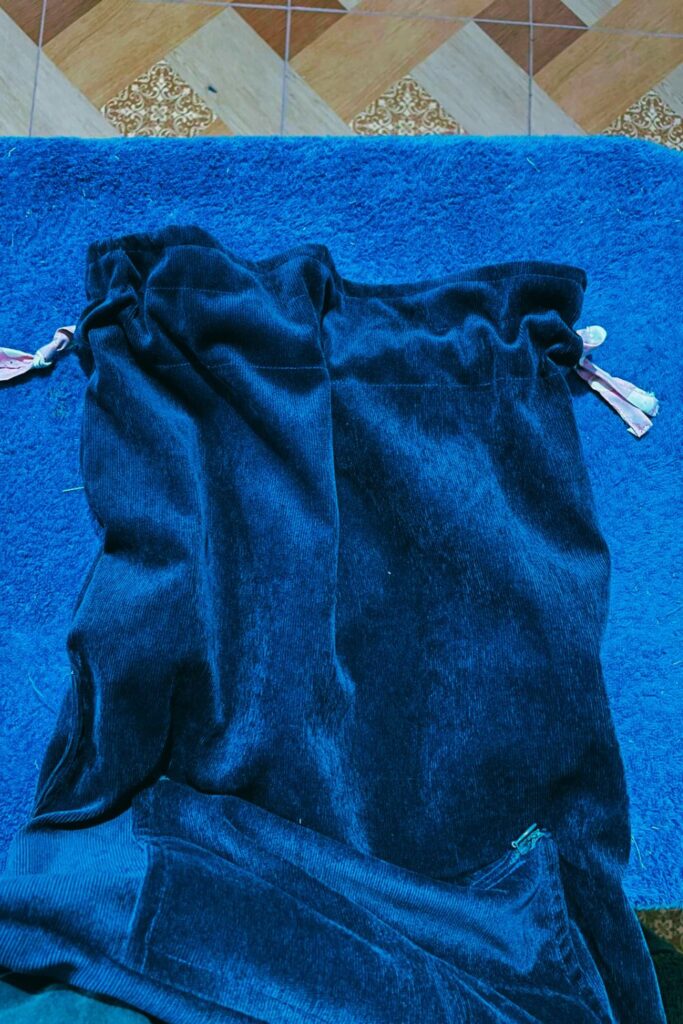
Attach a safety pin to the end of one of the ties and feed the first one through the tunnel. One will go in one side, around the back and front, and back out the same hole it entered. The other tie will enter the other side, go around the front and back, and exit the first hole it entered. Finally tie a knot on each side with the two ends, ensuring the ties don’t get lost in the bag.
Finished Results

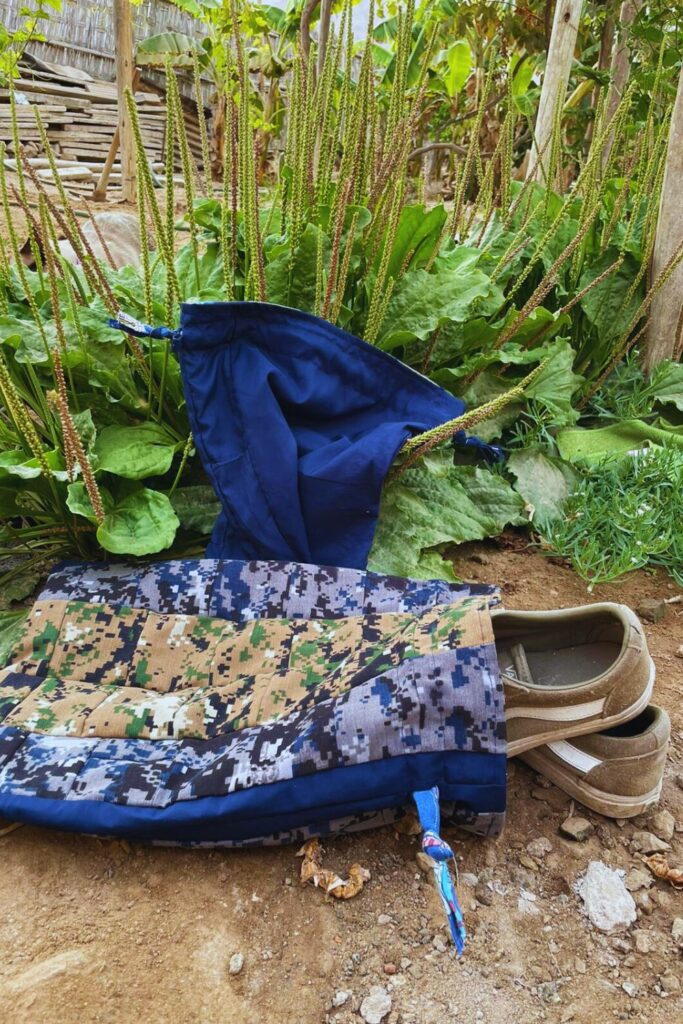
These are my first two shoe bags made from leftover fabric scraps. The solid blue one is completely patchworked, but because I only used one fabric color the patchworking is more subtle, whereas the camo one is very obviously patchworked. Both are totally unique in their own way, and the perfect thing to take with me on my next trip!
If you decide to give this project a go, tag me on Instagram @doorsandfloorsblog and use the hashtag #DoorsAndFloorsBlog so I can see what you make! I hope you liked this DIY, let me know your thoughts in the comments! What other scrap fabric projects should we make next so we can #UseUpYourStash
By the way, we have another version of this shoe bag – so check out that post next!
Explore other recent posts:
- Remote Work Life in Perú: Introducing The Chickens
- How To Make A Kids Scrap Fabric Top: Design #3
- The Truth About Working Remotely In Perú
- How To Make An Eyelet Top Out Of Scrap Fabrics: Design #2
- 10 Interesting Restaurant Culture Shocks From Eating Out In Perú

Find us on social media!
P.S. Looking for a fun activity you can do with a friend while working on tedious crafty tasks, download our free trivia here.
Playing trivia is a great way to keep your mind active and have fun with your crafty friends and family while busting out those seam ripping, crocheting, and other time-consuming, but necessary, crafty tasks.


