Hi! Let’s make a cute top to wear on Valentine’s Day out of some old, unused lingerie and some tulle scraps. Are you in?
I’m going to be honest, not everything in my lingerie drawer gets used, I just don’t like all of it. So today, I’m upcycling an old camisole piece I’ve been scooting around my drawer for years and turning it into something I know I’ll use.
At the end of 2023, I challenged you to join me for the #UseUpYourStashChallenge, where we put a little extra effort into using up the crafty materials in our stash. A lot of material that I had in my stash, though it didn’t really take up much space, was tulle. I bought all this tulle for my collaboration with my friend Jo, of Benji and Frankie’s Shop and somehow ended up with a lot leftover. If I remember correctly, I believe one of the projects didn’t come to fruition.
Happily, I managed to use up the bulk of it making projects like:
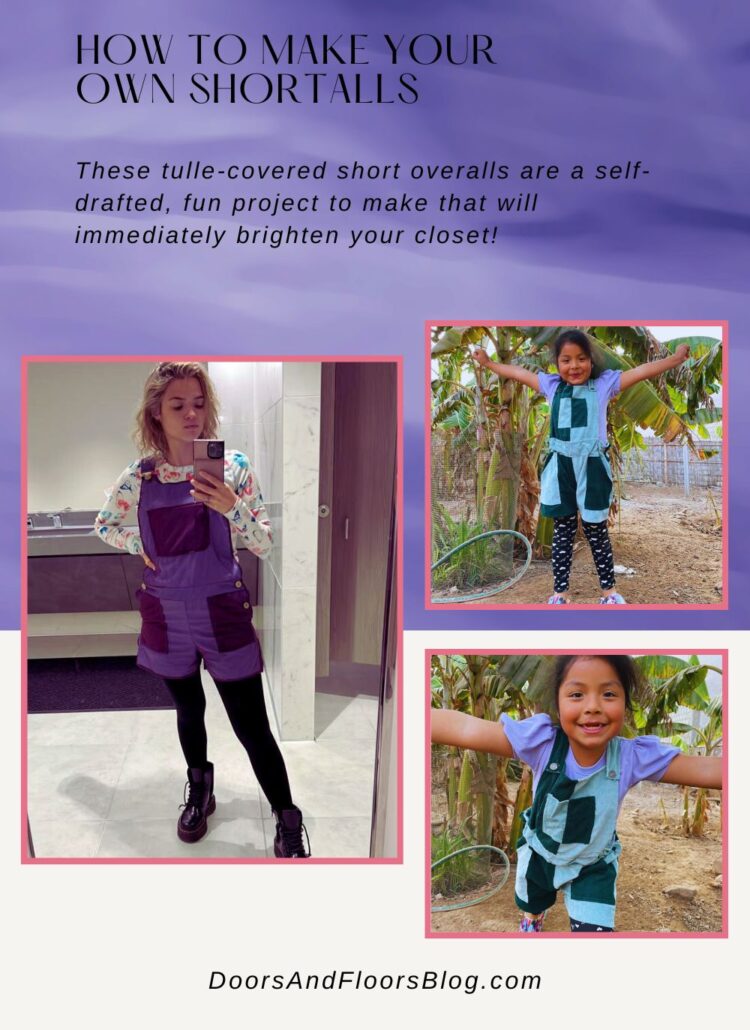
- Tulle-Covered Shortalls
- Easy, No Pattern Ruffle Top
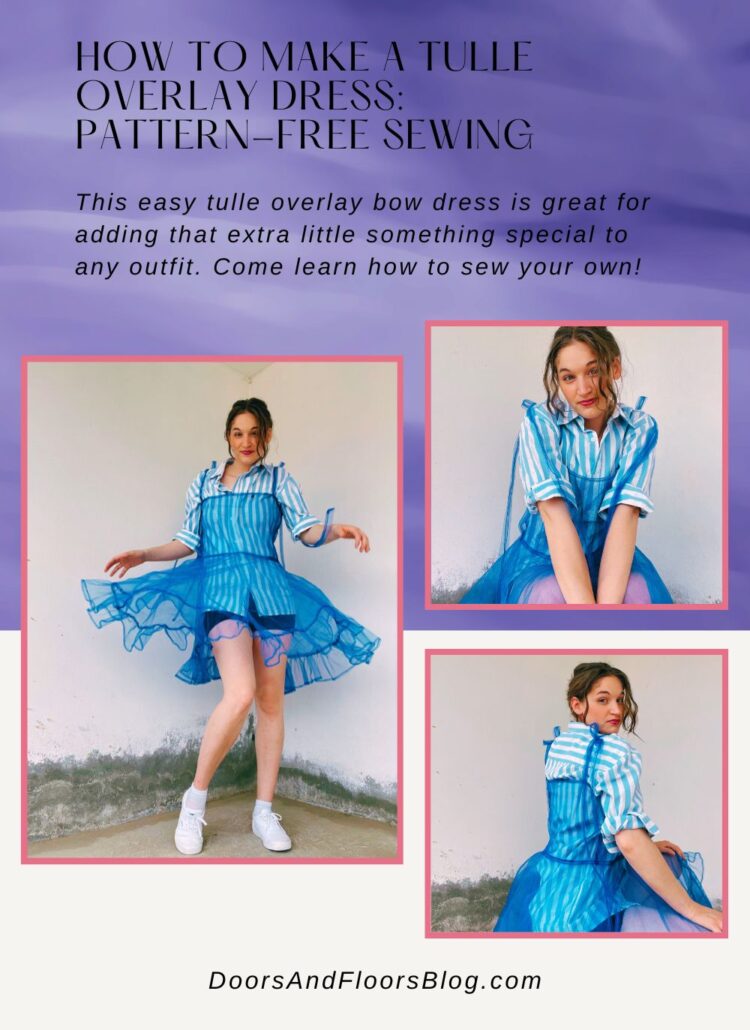
- Tulle Overlay Dress
- And finally, A Layering Mesh Top


I know, this tutorial is going to be very similar to the last mesh top. But the thing is, I took a two-week trip back to the States last year and I brought it with me. Of the 14 days I was there, I found I wore it six times. If that’s not a clue that I liked the shirt and would wear another one, I don’t know what is!
I don’t want to create an identical shirt, and if I’m being honest, I can’t even, all I have are scraps and a camisole in a matching color to my tulle. But since I still have a bunch of scraps left over, I think this project will be the perfect way to use up some material and make another shirt I know I’ll wear.
Ready to make a patchwork mesh top?
This post may include affiliate links.
Please read my disclaimer page for more info.
*As an Amazon Associate, I earn from qualifying purchases.*
Approximate time put into this project: 2.5 days, with 3-4 hours put into the project each day. Patchworking really adds to the project time
What You’ll Need:
- 1-1.5 meters stretch tulle, depending on your size.
- This is the ideal total material needed. If you’re upcycling an old lingerie top you won’t need this full amount of tulle
- I used a tulle fabric with one-way stretch. Two-way stretch would be better if you have it, but you can totally make one-way stretch work. Your fabric has to have some stretch in it though for this top to fit without a zipper or buttons.
- You can use a full piece of tulle if you have it, I only had scraps leftover
- A lingerie top, like a camisole, in a matching color to your tulle
- Make sure the top is a similar material and stretch. My camisole top had four-way stretch, while my tulle only had two-way stretch.
- Matching thread
- Sewing Machine
- Straight stitch foot
- Scissors
- Sewing pins
- A long sleeve top to reference
- Fabric tape measure
Disclaimer: I am trying to teach myself the Metric System, I will always try to include both measurements in my tutorials, i.e. centimeters and inches, meters, and yards. Though I have been using them interchangeably in my everyday sewing life lately, I apologize if I miss including both or switch between the two too often.
Cutting Your Pieces
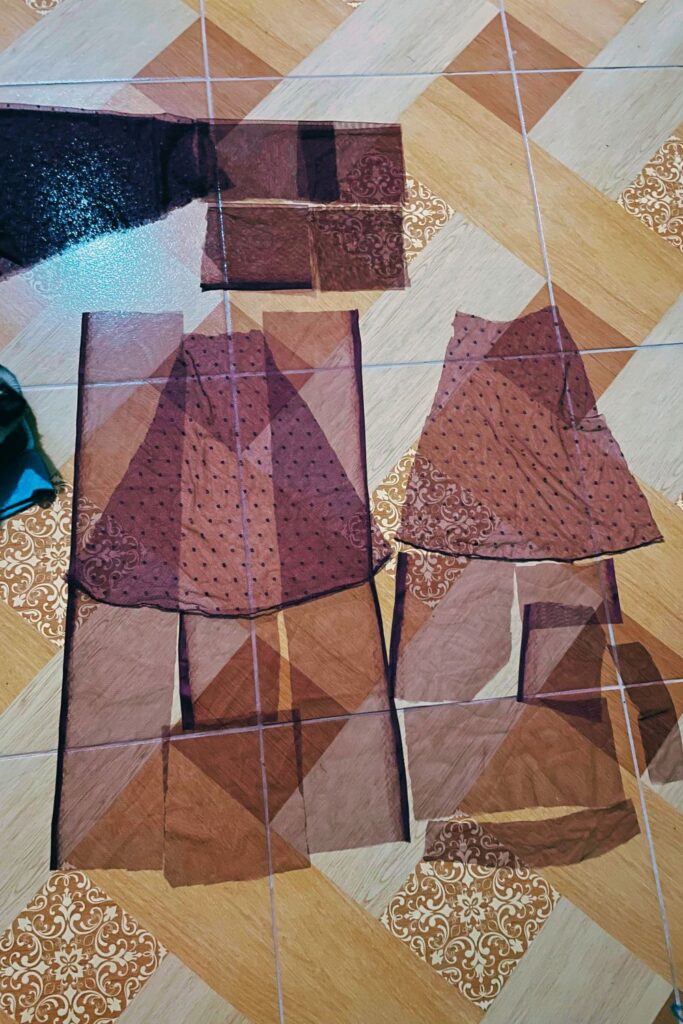
Start by getting all of your pieces together and determining how much material you have. If you’re using a camisole or other lingerie top, cut apart any pieces you can’t sew into your new top. My camisole had a bralette that I carefully cut away from the rest of the top so I can still use it.
Above, I mentioned that you need about a meter of total materials to make this top, depending on your size. I had only scraps, so I didn’t measure it. I recommend laying all of your pieces out on the floor or table and spreading everything out to see if you think you will have enough pieces to create a patchwork mesh top that would fit you.
Before you cut anything, make sure you know which way the fabric stretches, it needs to stretch horizontally, around the body, not vertically, the length of the body. Make sure you cut all of your pieces this way. The same goes for your sleeves, the stretch needs to go around your bicep.
Using a shirt for reference start laying your pieces on top of your shirt until you have enough pieces to cover the area and shape of the top you want to create. Remember you will lose a bit of length and width due to seam allowance everywhere you sew a scrap piece together.
I recommend you work with all of the pieces at the same time because we’re working with scraps we need to make sure we actually have enough pieces for everything. Really take your time here to build out the front and back base pieces of your top and your two sleeves.
Once you have the majority of everything cut, make a separate pile for each pattern piece and try not to get them mixed up.
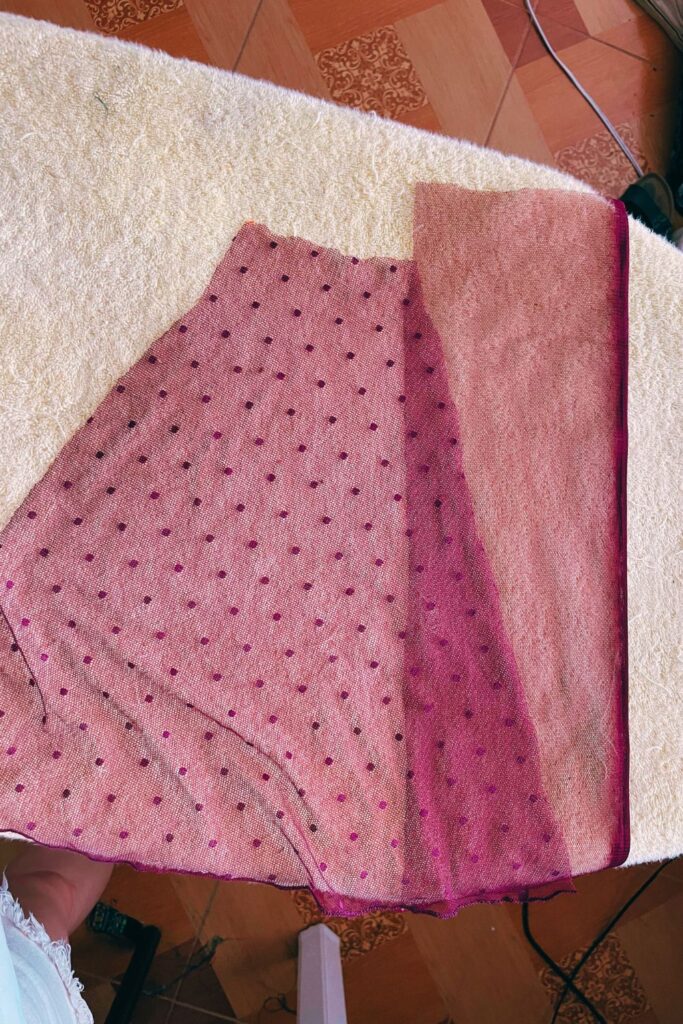
My pieces from the camisole were a bit odd-shaped since I trimmed the sleeves from them first and used the leftovers to make the center front and back, so I cut four identical triangles to create a more square shape with the front and back pieces. You’ll notice this in the photos above.
Sewing the Sleeves
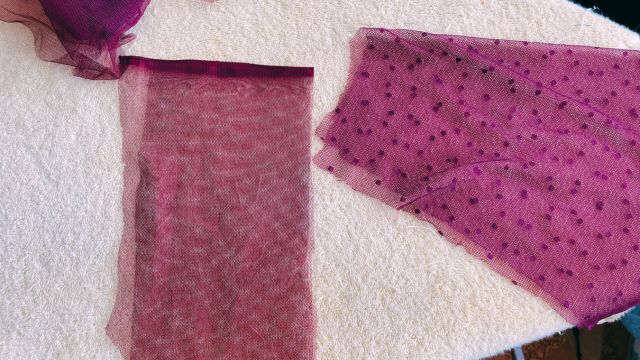
Take your sleeve pieces and lay them together along the long edge, pin and sew. I needed to sew two of the plain rectangles together first before I attached them to the upper shoulder, polka dot piece.
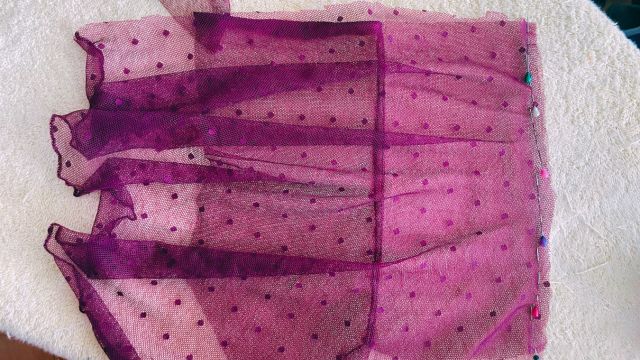
Pin the rest of your sleeve pieces together and sew them. Remember to zig-zag stitch the raw edges.
Assembling Your Patchwork Pieces
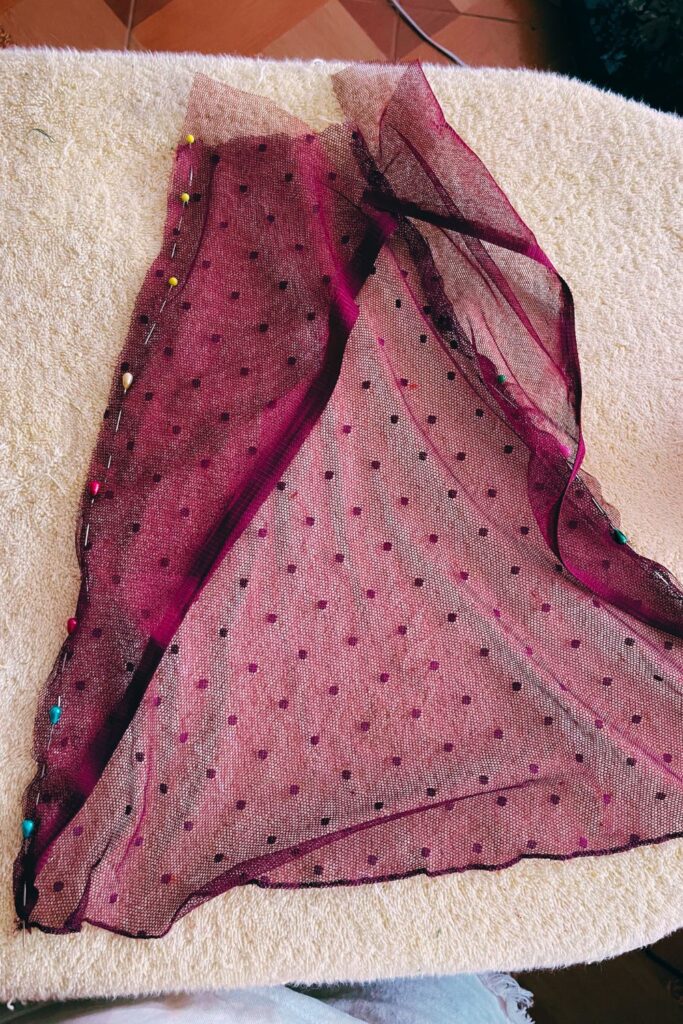
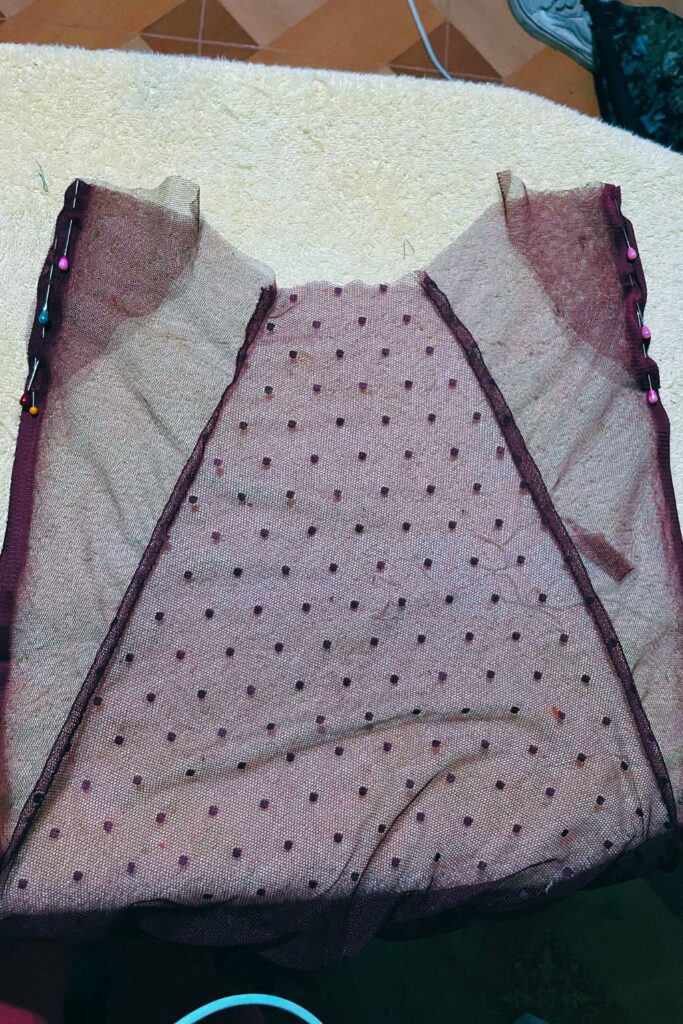
Sew your scraps together until you form the complete shape of each piece. Paying attention to which way your pieces stretch when you sew them together. Finish off the raw edges with a zig-zag stitch as you go. Keep patchworking any additional small pieces into your top until you get your desired width and height.
Make sure your end result has the shoulder seams on the front and back pieces matching. This is important for us to be able to insert the sleeves.
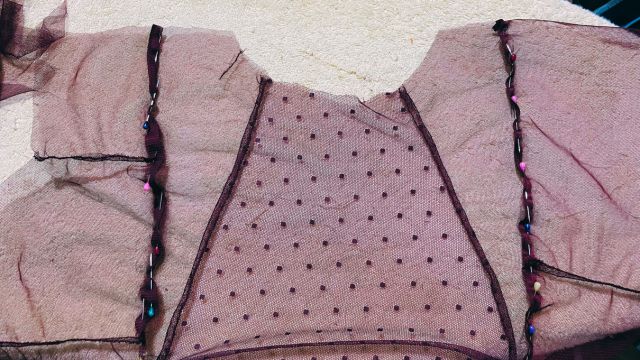
Trim a curve around the center front and back to create a neckline. Making the back more shallow than the scoop in the front.
Continue to add more pieces to the sides until you have your desired width. Make sure you’re adding an equal amount to each side.
Once you have your desired width, lay your sleeves on top of your side seams and cut a curve for the armhole in the top. If your sleeves don’t have a curve on the end with the raw edge, you can add that now too.
Sewing Your Patchwork Mesh Top

Sew a straight stitch to attach the front and back pieces together at the shoulders. Then go over the raw seam with a zig-zag stitch.
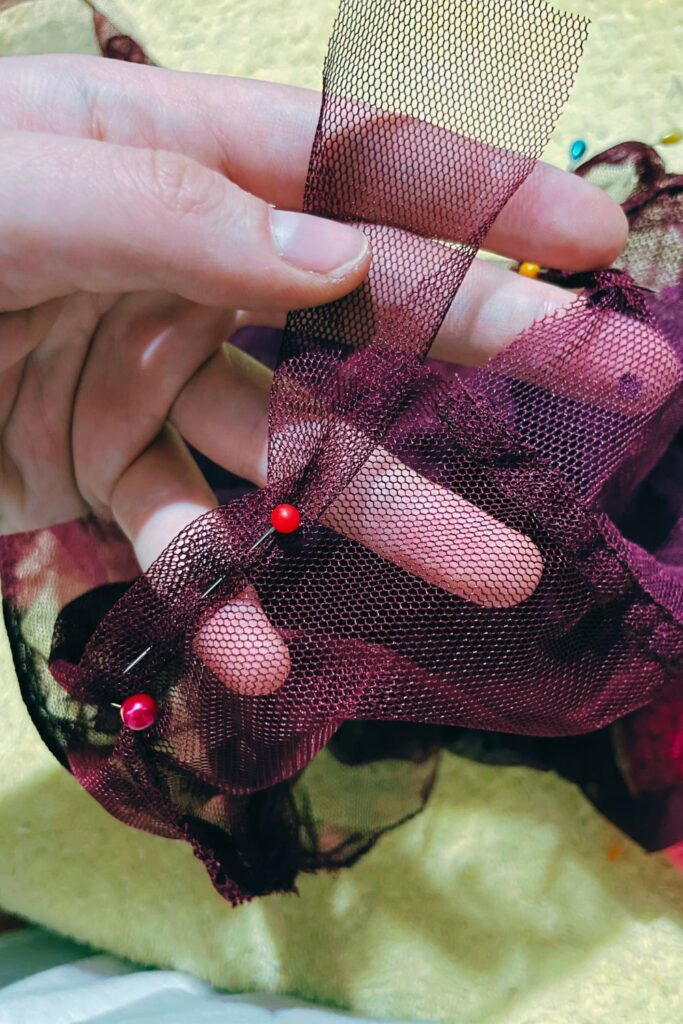
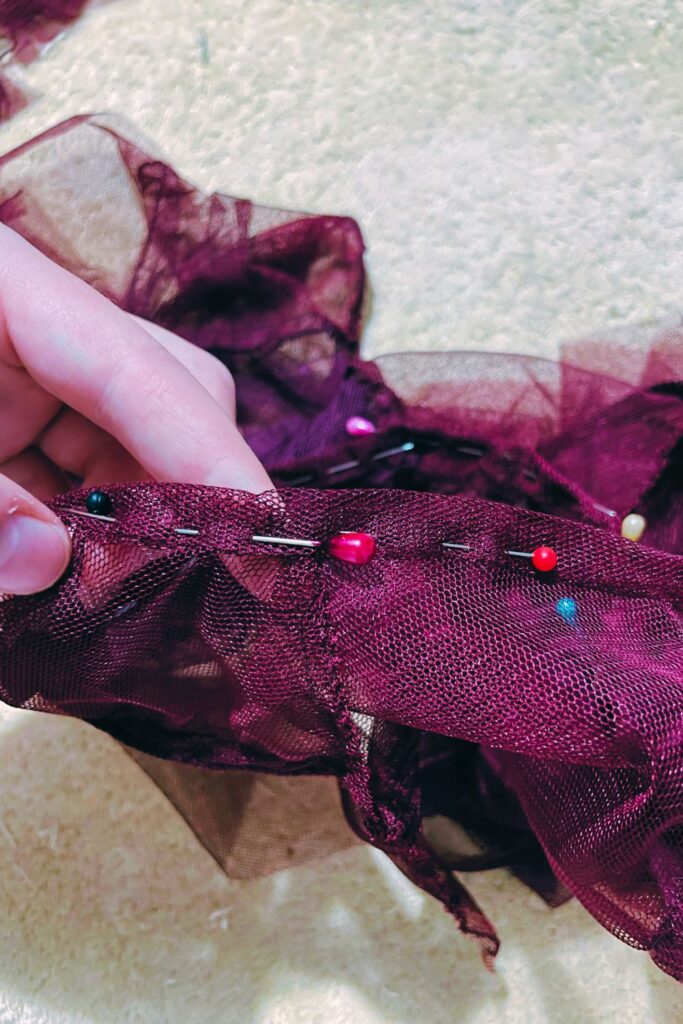
Next, cut a 1″ (3cm) strip of tulle long enough to go around the neckline and overlap a little. Then fold the outer edges into the center of the tulle strip and sandwich the neckline in between it like you would with bias tape.
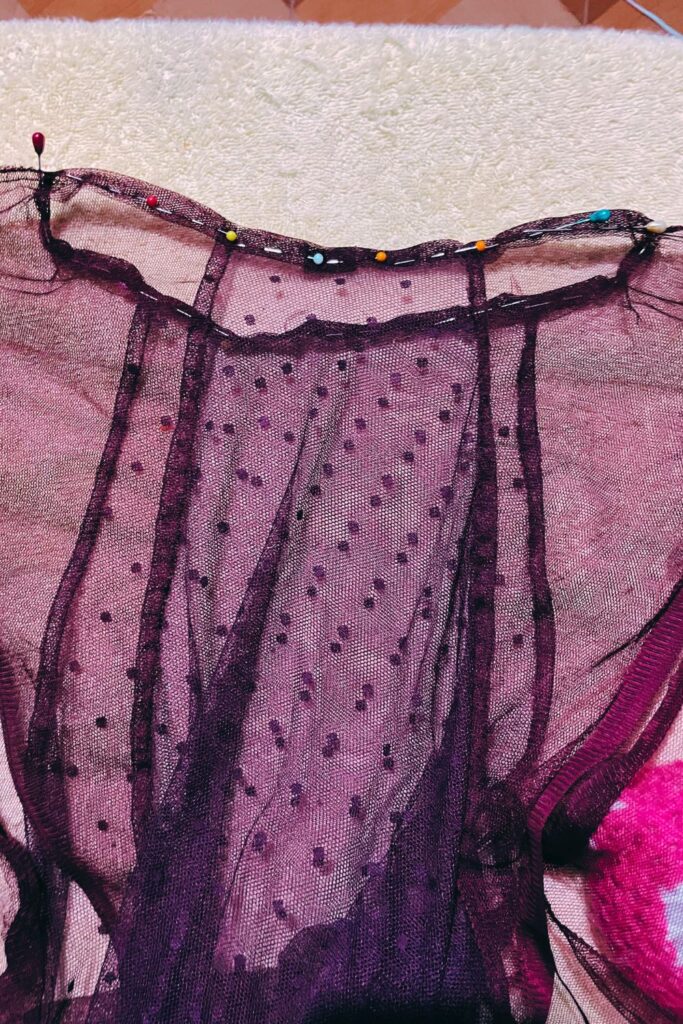
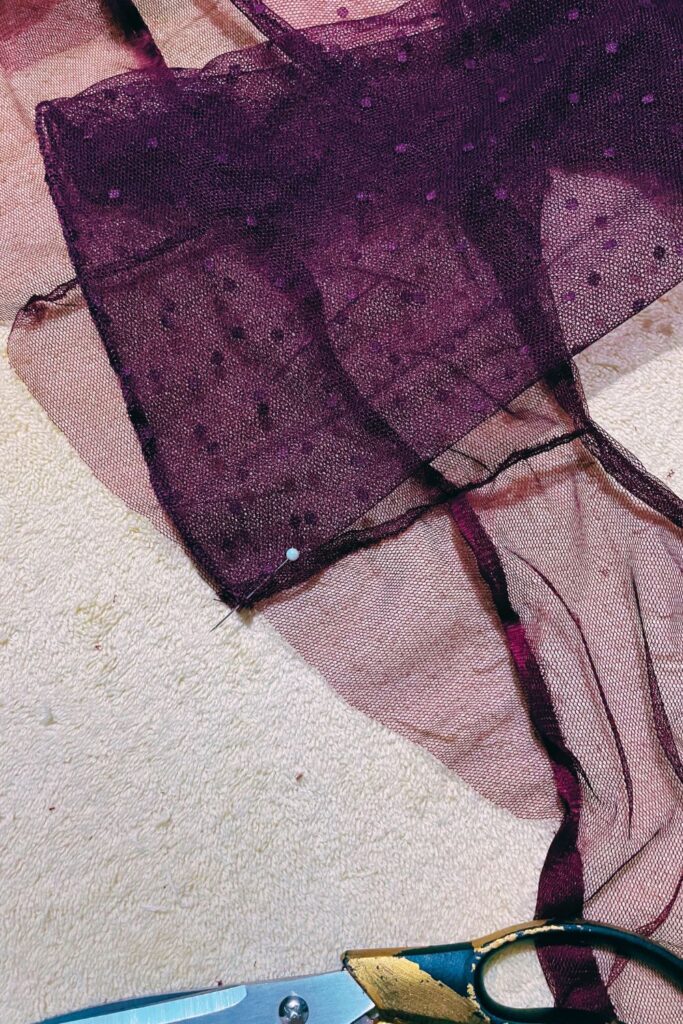
Work your way all around the neckline till it’s all pinned, then sew.
Lay your top out flat, with good sides facing up, and pin your sleeve into each armhole.
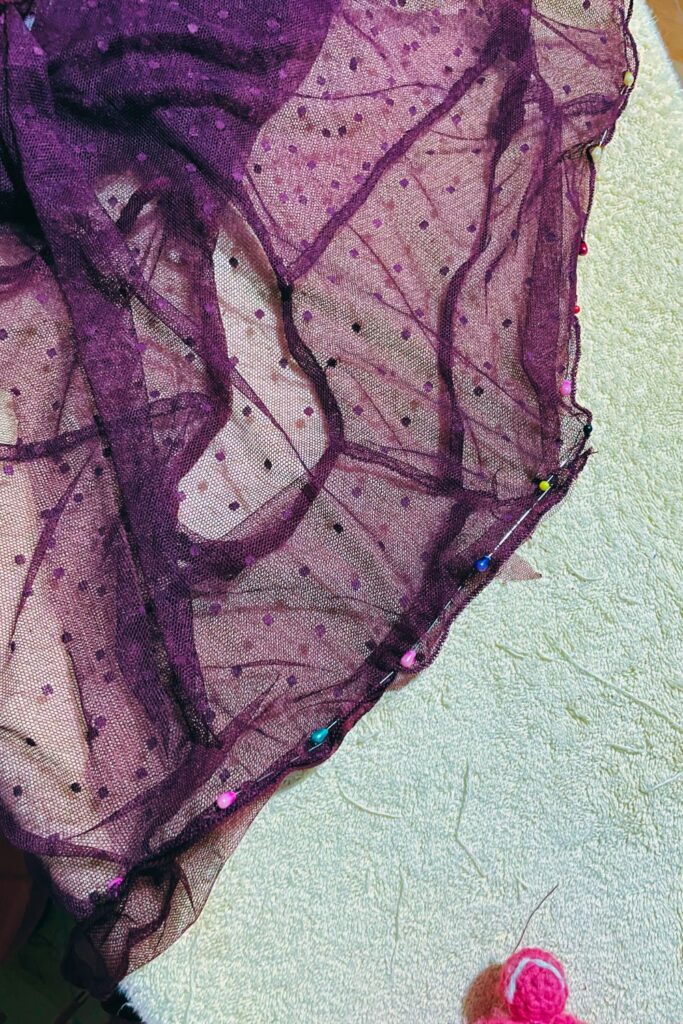
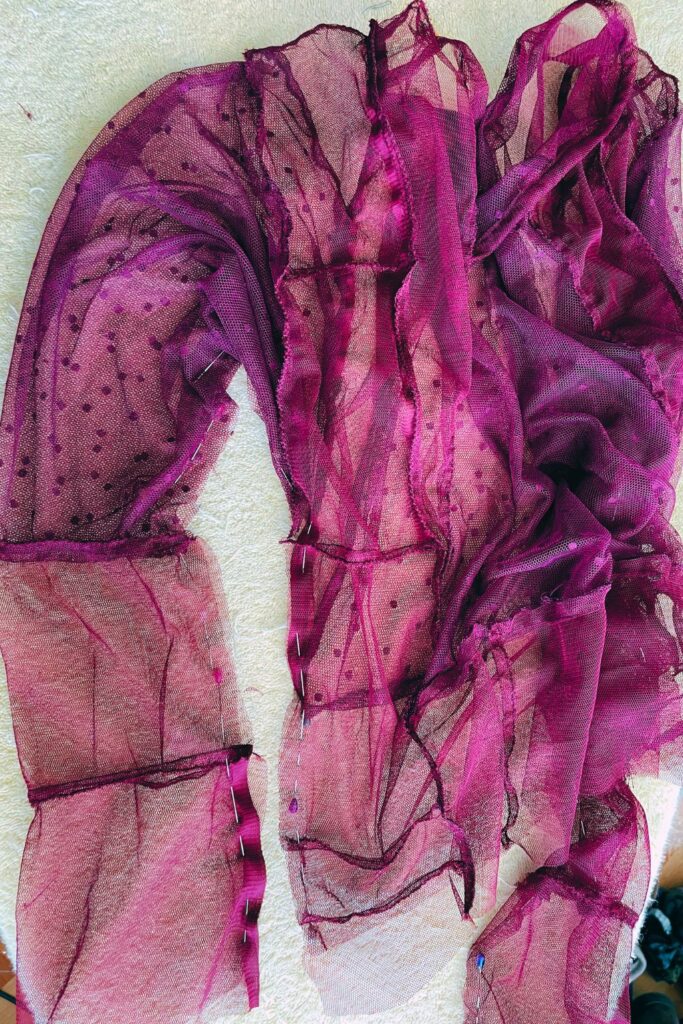
Sew your sleeves at the shoulders together with a straight stitch, then finish the edge with a zig-zag stitch.
Next, pin the sleeves and side seams together, good sides facing and sew closed the sleeves and side seams.
Before you finish the top you may need to trim any uneven edges. I had one sleeve that was longer than the other and the bottom hem had a few uneven edges. Ideally, my finished top would have been just a few inches longer, but I didn’t have the material for it.
For the final step, finish the raw bottom edge and the sleeve cuffs with a zig-zag stitch.

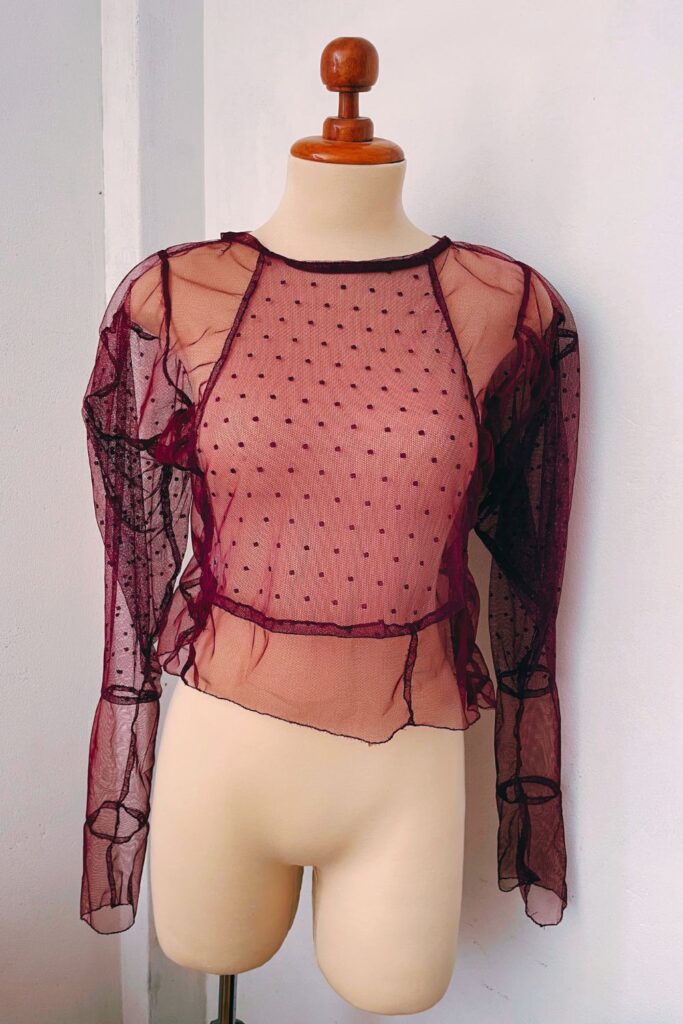
These are my final results! I really love how it turned out! This patchwork mesh top is super cute for layering over or under pieces. The patchwork, though chaotic and all over the place because we puzzle-pieced everything in there, really gives it a unique and cute look.
What do you think? See how to style it on my Instagram.
If you decide to make this patchwork mesh top tag me on Instagram @doorsandfloorsblog and use the hashtag #DoorsAndFloorsBlog so I can see what you make!
Explore other recent posts:
- Remote Work Life in Perú: Introducing The Chickens
- How To Make A Kids Scrap Fabric Top: Design #3
- The Truth About Working Remotely In Perú
- How To Make An Eyelet Top Out Of Scrap Fabrics: Design #2
- 10 Interesting Restaurant Culture Shocks From Eating Out In Perú

Find us on social media!
P.S. Looking for a fun activity you can do with a friend while working on tedious crafty tasks, download our free trivia here.
Playing trivia is a great way to keep your mind active and have fun with your crafty friends and family while busting out those seam ripping, crocheting, and other time-consuming, but necessary, crafty tasks.

